Important Note: The Bulk Asset Manager is a premium feature and not available on all imSMART platforms. Please contact your app administrator if you are unsure if this feature is available.
About the Bulk Asset Manager
The Bulk Asset Manager allows you to receive a download template of the assets in the CMS with the metadata associated. Using the file template, you can edit or add assets and then upload into the CMS. Association ID's can be added to an asset, but you can't remove it from an existing location using this tool. This would have to be done within the CMS. Once the file is uploaded into the system, you will be presented with a list of the assets that you've just uploaded. Files and images can be easily associated with each asset. Please note that the image cropper isn't available using this feature.
Note: This feature is only accessible to system administrators.
To use the Bulk Asset Manager navigate to:
Assets --> Bulk Asset Manger
Note: When working with template/asset report downloaded from our system, please enable macros to enable multiple selections.
Generate Asset Report
Select the Segment(s) that you are interested in and Generate Asset Report. Note: Maximum 3 segments can be downloaded at a time. If the segments(s) are large this could take some time.

One that the report has been generated, click on the Download Report and then open the file.
Note: When working with template/asset report downloaded from our system, please enable macros to enable multiple selections.

Asset Report (Asset = File)
Summary of the Asset Report Fields
Asset Title (Mandatory): This is the title that will be displayed in for the asset
Asset Description (Optional): Information about the asset
Asset Type (Mandatory): This tells the CMS how to access the asset.
- File_Upload = File is loaded directly to the CMS.
- Link = A URL like https://www.youtube.com/. The URL is then supplied in the corresponding Link column.
- URL_As_File = A file that is retrieved from a data asset management system (DAM) using a URL. The URL is supplied in the corresponding URL for URL as File column.
Keywords (Optional): Comma delimited terms the help search.
Associations: A comma delimited list of all of the segments/folders that an asset is associated with using Ids. The location can be looked up AssociationsListSheet Tab.
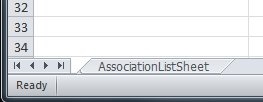
To see all of the tabs on the spreadsheet, click the left arrow:
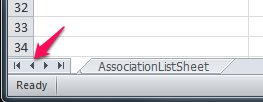
There are now 2 tabs displayed: Assets (all of the assets in those segments) and AssociationsListSheet (all of the segments and folders in the CMS).

Custom Fields/Tag Groups (Optional): These are listed in the columns at the end.
Download Template
Use this template to upload new assets. To associate an asset to a folder look up the folder Id in the AssociationsListSheet tab. The Id should then be listed in the Associations column. If there are multiple Id's, they should be comma delimited.

Summary of the most relevant fields for upload of the template:
Please see this section above Asset Report (Asset = File)
Upload Edited Asset Report or Template
Select a file with 50 assets or less and contain only assets that have changes to upload and then click Upload & Create Assets. Adding assets that have no changes will increase the sync time because the assets will be re-saved in the system.
Note: Do not make alterations (color code, freeze panes, etc) to the original report or template. This may result in a 403 error returned by our system when trying to upload.

All of the assets in the report will be listed to the left.
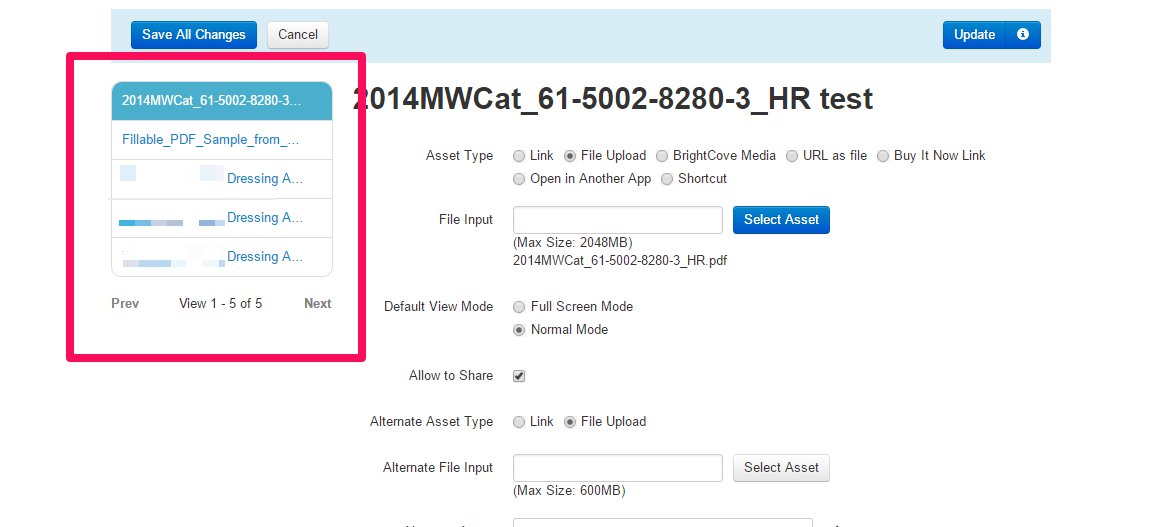
If there are issues with the assets, an exclamation point will be listed to the right of the name with the error. Here is an example:
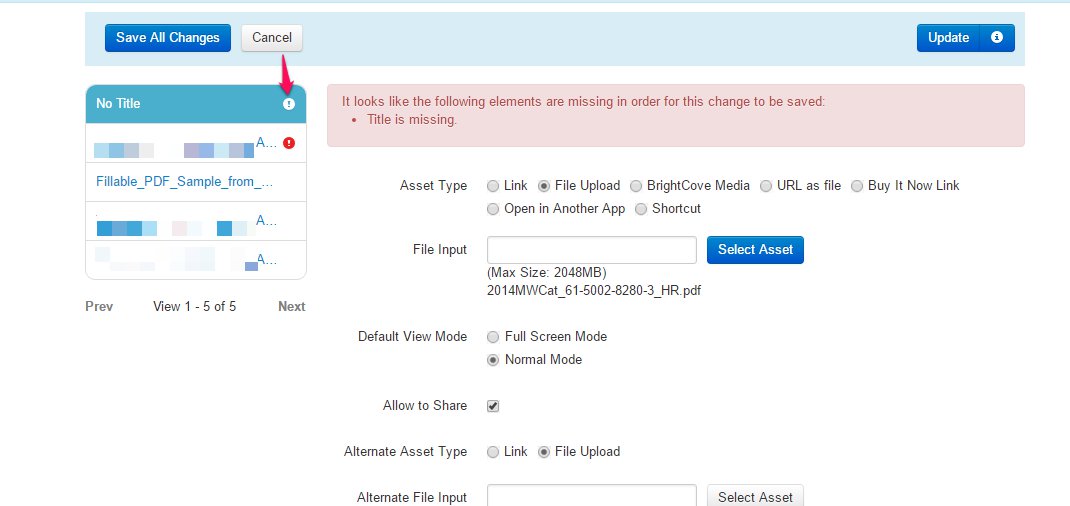
These errors will need to be resolved before saving. To see your progress on correcting these errors, click on the Update button in the upper right.
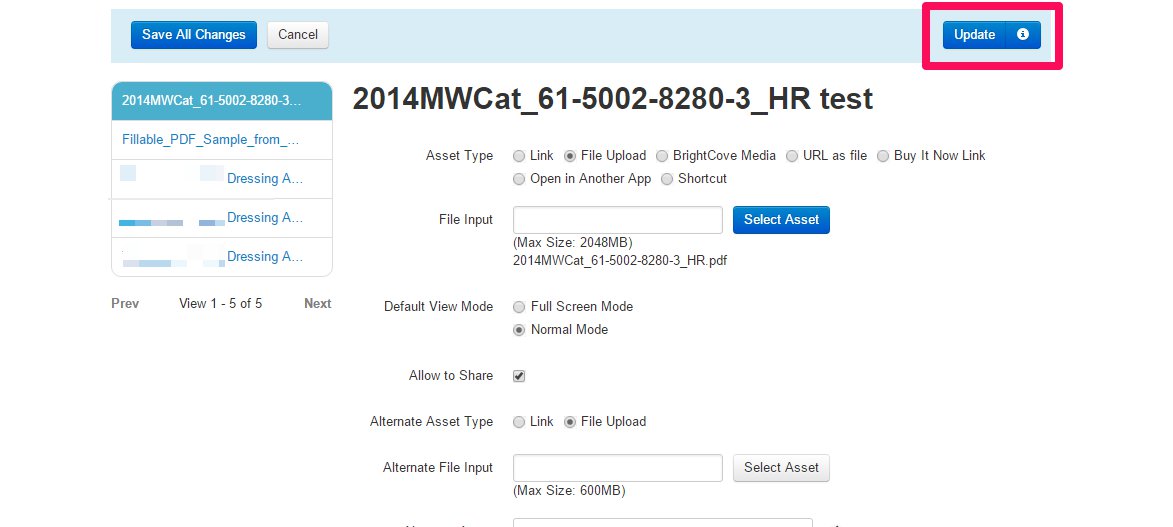
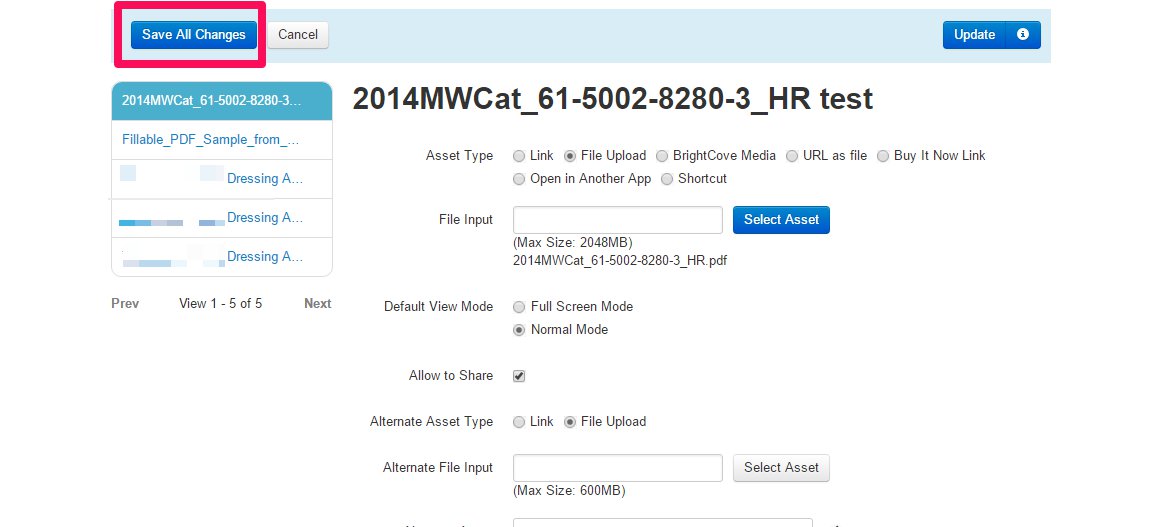
The Update button updates the assets in the current page temporarily. Changes will not reflect in the main asset page until you press Save All Changes button.
When all changes have been made, click on the Save All Changes button.
Comments
0 comments