Content Hub has an easy to use 3 tiered structure called Tabs, Channels, and Stories. Tabs & Channels are managed by administrators in Platform Configuration. Here are some tips for setting up your structure and aligning the correct user population with the right information.
Tabs
- Highest level of organization within the platform
- Tabs contain Channels
- Multiple Channels can belong to a single Tab
Channels
When creating a Channel, admins must select the Channel Type and enter a Channel Name. The Channel Name is the display name that will be seen by all users who have permission to view this Channel in the structure; Channel names must be unique. Optionally, admins can enter a description field, cover art, choose the default sort order for Stories published in the Channel, hide the Channel, and encrypt files published within the Channel.
- There are two types of Channels: Content Channels, and Feed Channels.
- Content Channels are the default option and allow users to publish Stories
- Feed Channels allow users to publish RSS Feeds
- A single Channel can be used in multiple Tabs
- Permissions are granted at the Channel level
- When adding a Group to a Channel admins can give permission for that Group to view, publish, view & publish, or view & edit.
- Only one permission set is allowed for each Group within a single Channel
- Groups can have different permissions in different Channels
Groups
How to Implement Tabs and Channels:
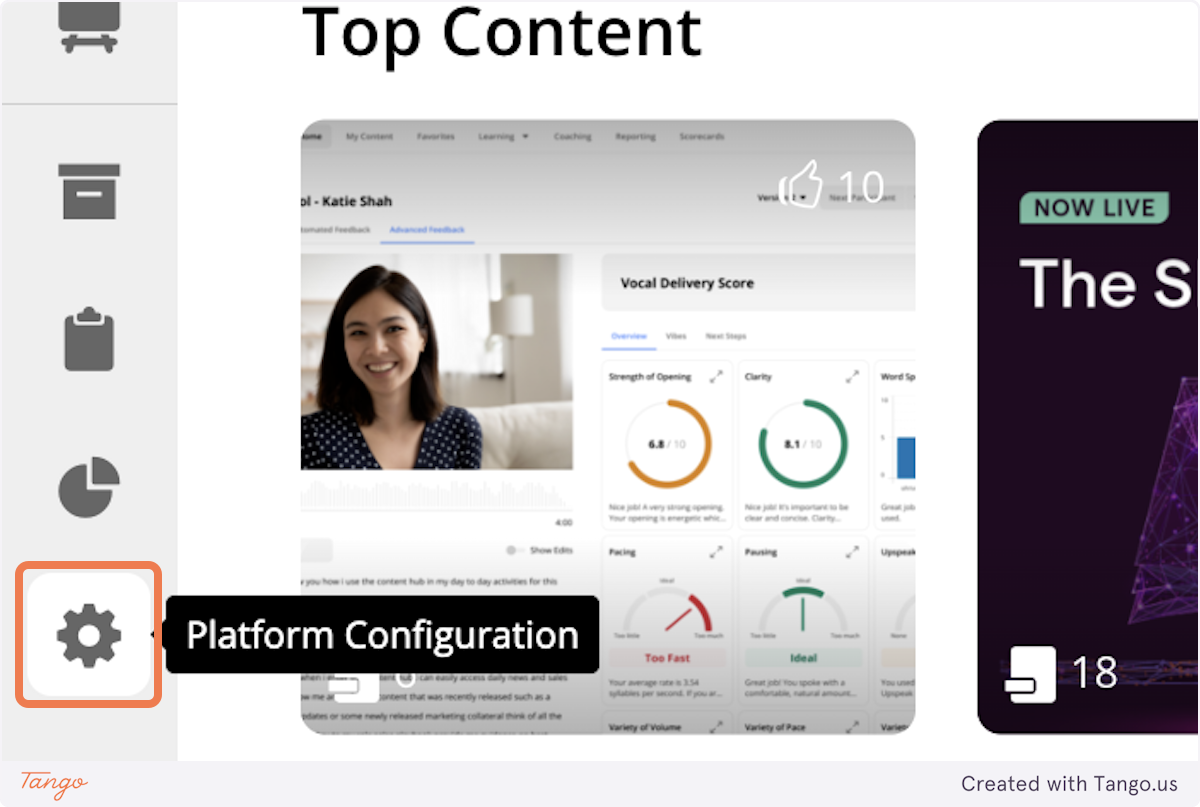
1. Once logged in, on the left hand navigation select Platform Configuration.
2. Once opened, select Structure.
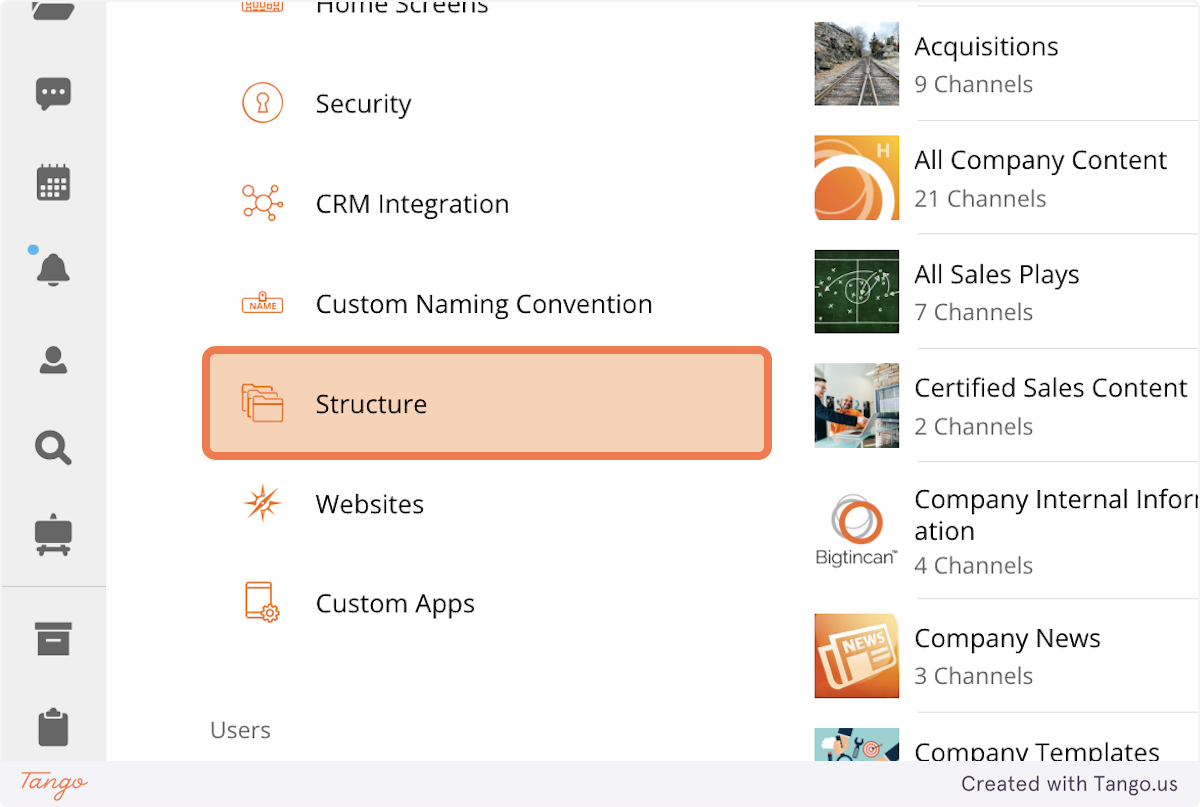
3. In this area you will see Tabs and then the Channels associated to a selected Tab.
4. To add a Tab, select the + button to the right of the title. A model will open up to have you fill in some information regarding the Tab before you select Create to save.
5. To add a Channel, you will select the + button to the right of the title. Once you have multiple Channels you will see the Add Existing Channels option.
5. Once you have a Channel created you can then add the needed information. When information is filled out, select Create and you will see the Channel in the list.
- Channel Type
- You will have two options here:
- Content Channel
- Feed Channel
- You will have two options here:
- Default Order will control how the stories are organized in the channel.
- Options are Date, Title (alphabetical), Priority, Likes, Most Read
6. Now we need to add Groups and/or Users into the Channel. If you have set up Groups previously, you can select the correct group by selecting the + to the right of the Group title. A list of available groups and/or users to add will drop down.
7. Now that we have Groups added into the Channel, the permissions need to be setup. Select the group you wish to edit and select the pencil icon to the right hand side.
8. Once selected, a model will pop up to edit the group permissions. Under permissions you will have these four options for the users in that group: view, publish, view & publish, or view & edit. When finished, select Save.