Making your Content accessible in ClearSlide is essential to your success within the platform! Luckily, uploading Content into ClearSlide is extremely easy to do.
First and foremost, below are some details to keep in mind before getting started:
- You have unlimited storage within ClearSlide, so don't be shy about how many things you need/want to upload into the platform.
- The maximum file size for a video is 2GB.
- The maximum file size for an asset is 1.8GB or 100 pages, whichever comes first.
- In a rush? You can also divide your document into multiple pieces and stitch them back together within ClearSlide. Click here for a more detailed walkthrough.
- You can upload 100 separate files at once.
- You can upload a variety of file formats, including PowerPoint, Keynote, PDF. For a full list of supported file formats, click here. *(ClearSlide does not support Keynote rich content and custom fonts)
There are four ways you can upload Content into ClearSlide:
1. Upload Content via Drag & Drop
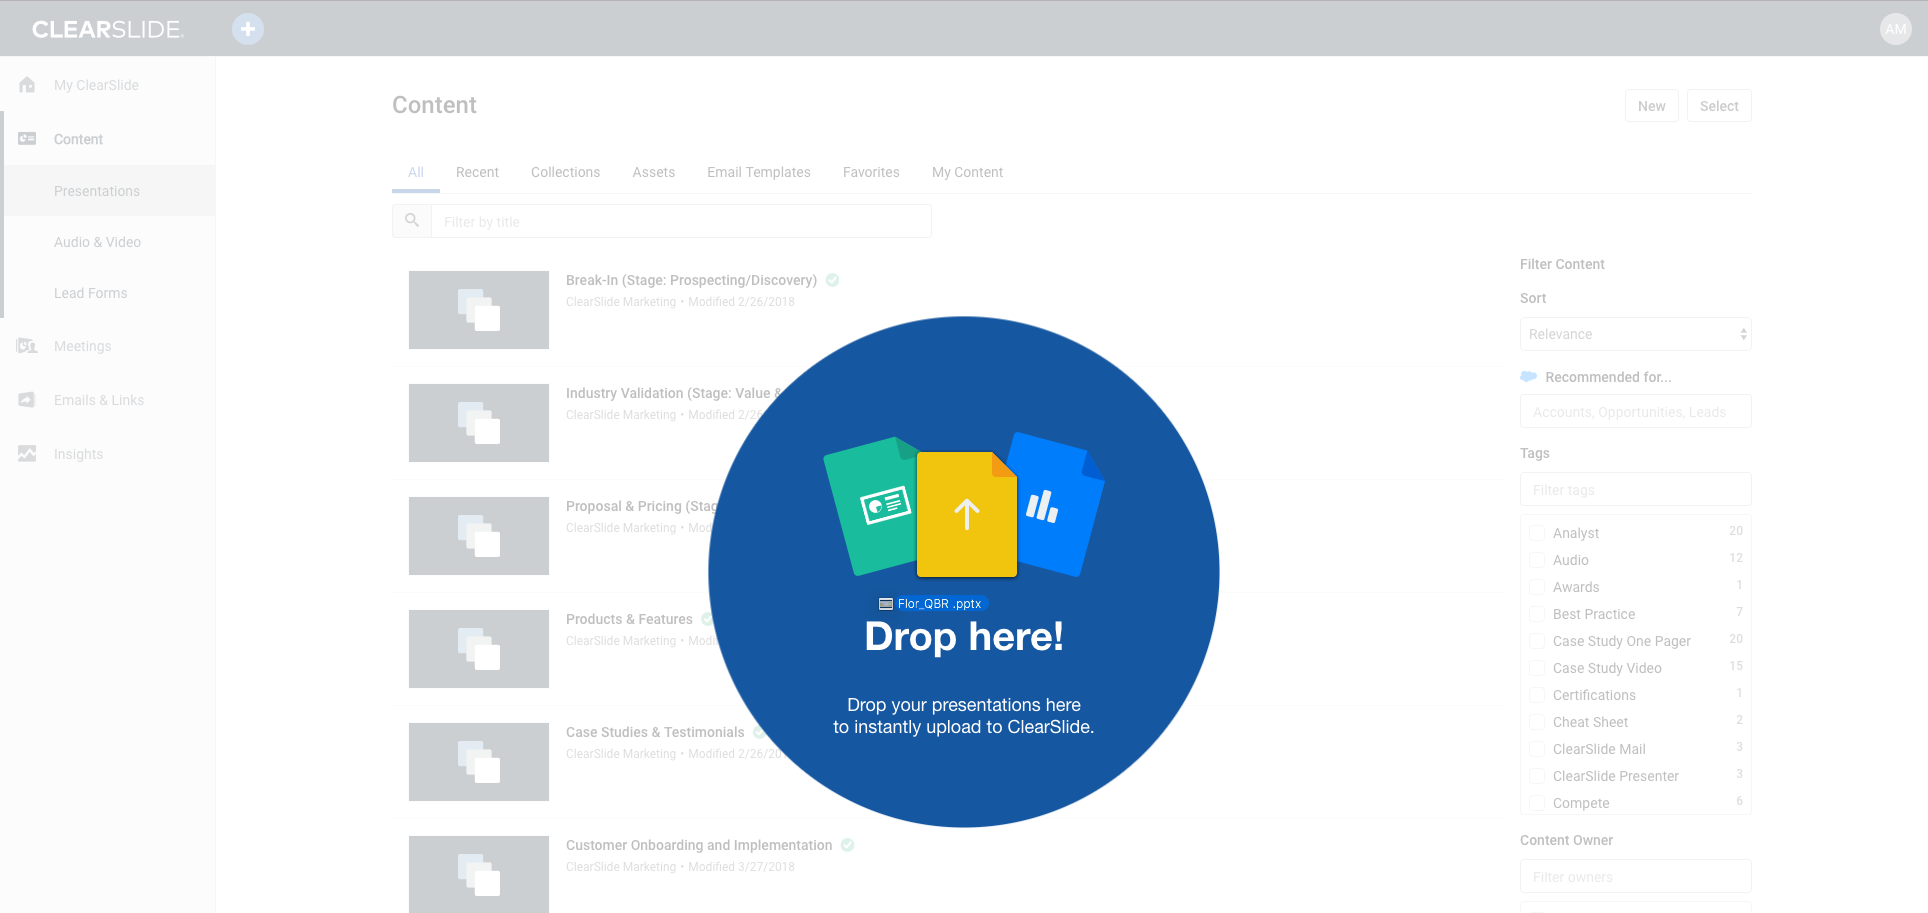
We continue to be amazed by this method of content uploading (how does ClearSlide know that you're floating a document over it?!). The powers of the internet never cease to amaze.
- Locate a document on your desktop or in a finder window that you'd like to upload into ClearSlide
- Drag and drop the document onto any page within ClearSlide
- NOTE: You do not have to be in the Content Library to successfully upload Content with this method. As with the Quick Actions method of uploading Content, you can select multiple documents to drag/drop at once.
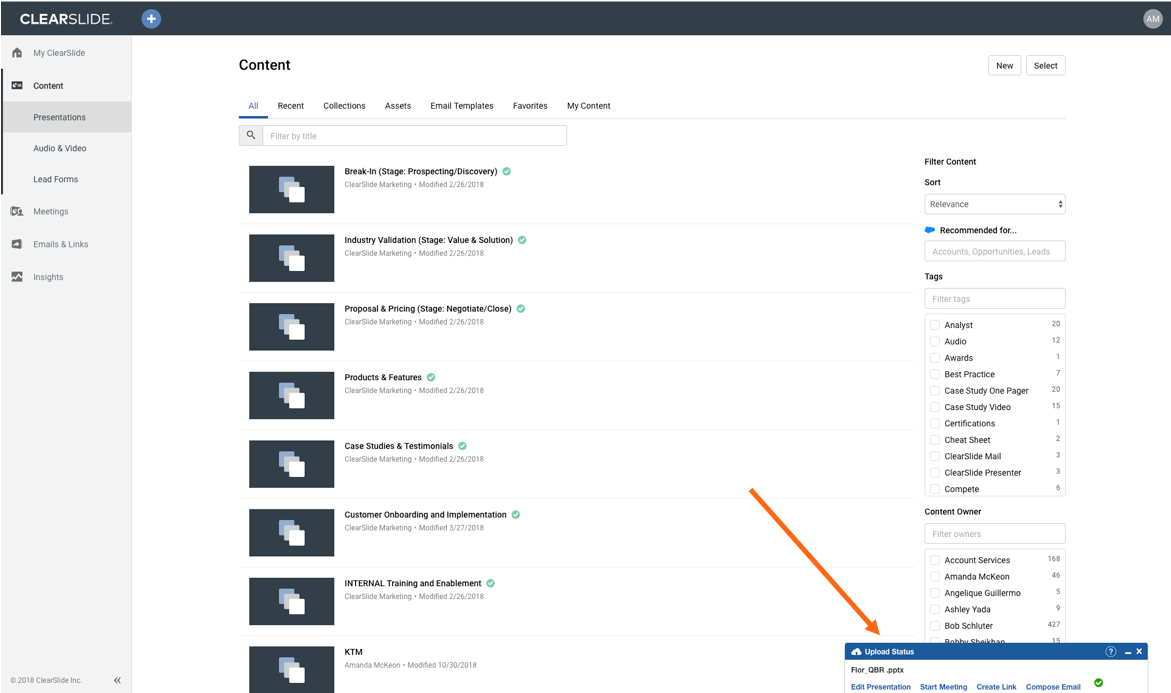
- Your Content will automatically begin uploading. You can view the status of your upload(s) via a tray that will appear in the lower right corner of the page within ClearSlide

- Once a green check mark icon appears within the tray, your Contenthas been successfully uploaded. There is no further saving that you have to do, so you're able to use and edit it right away.

2. Upload Content using the Quick Actions button within the Navigation bar.

3. Upload Content via a linked Storage Account
Being the tech-savvy person that you are, you may have some of your Content stored elsewhere in the Cloud. ClearSlide makes it easy to access & import Content from Box, Dropbox, and Google Drive directly within ClearSlide.
- From within your linked Storage Account, simply click 'Import' next to the file(s) you'd like to upload to the Content Library

Comments
0 comments