If you've been perusing the Content area of ClearSlide, you may have noticed that upon upload, Audio & Video files are housed in a separate section of the Content library. Given some of their unique qualities (ex: the ability to auto-play), they get special treatment. Don't worry though, even though they start out in a separate part of the Content library, you can always add them to Assets/Presentations and use them as you would any other piece of content.
To access audio/video files, click "Audio & Video" within the "Content" section on the left.
This will bring you directly to the Audio & Video Library. By default, this page will sort by the Created date of the video. Use the filters at the top of the page to search for a file by title, file type, Group, or Owner.

Click on an Audio/Video file to go to the Detail page for that file. If it is a file that you uploaded/created, you will see some controls on the right side of the page.
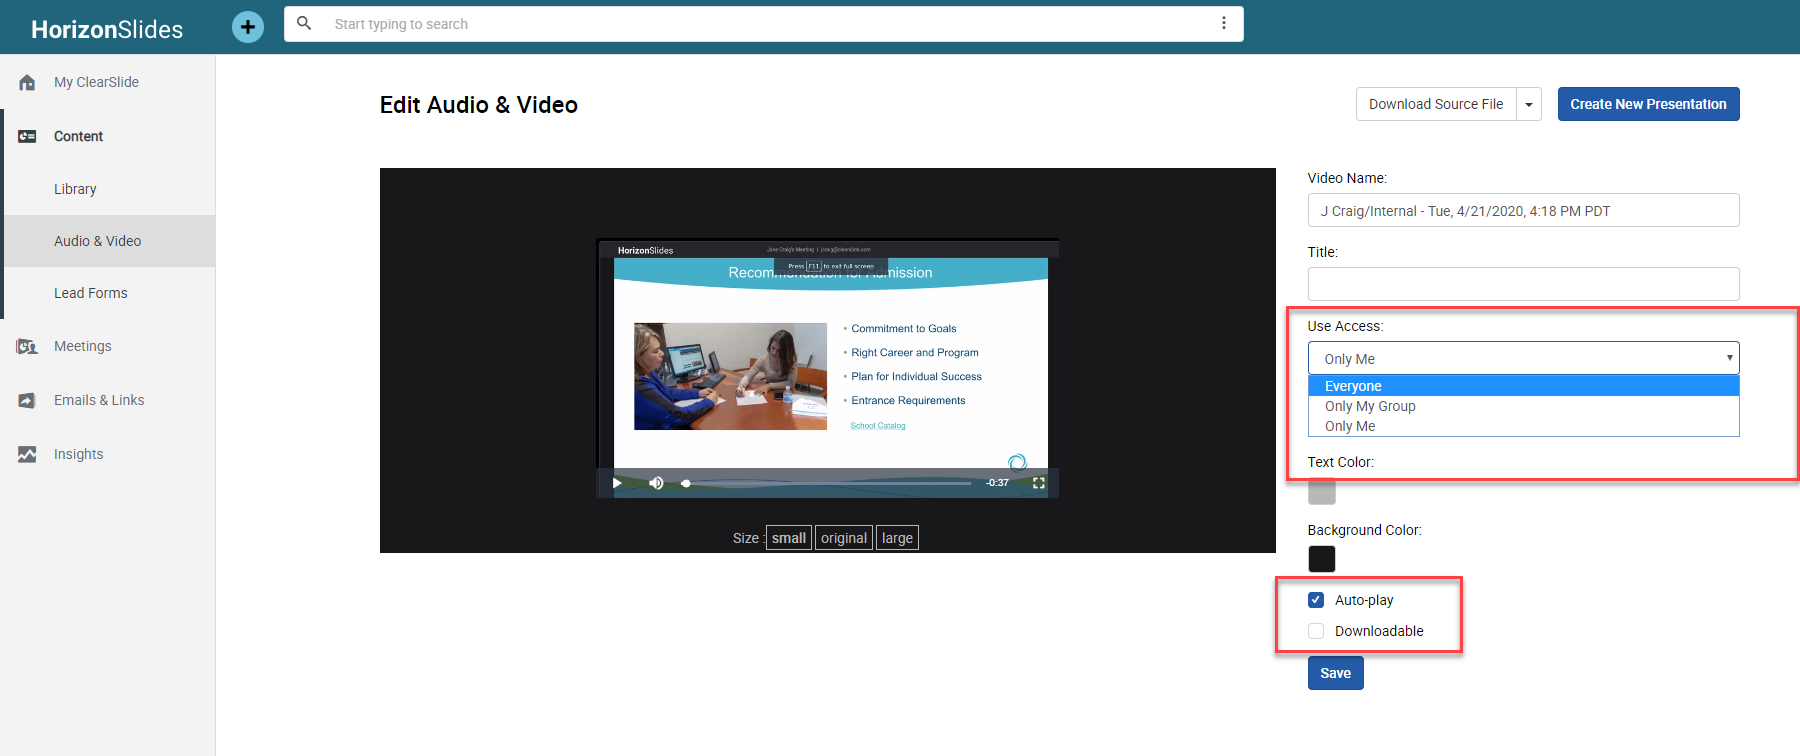
Note that even though it is an Audio/Video file, you can still control the "Use Access" of the file as well as some of the visual layout options (default size, text, and background colors).
You can also control whether your file will auto-play upon opening (either when viewed via Email or in a Live Meeting) and whether it is downloadable or not. Note that you can change those settings whenever you need to by visiting this Detail page.

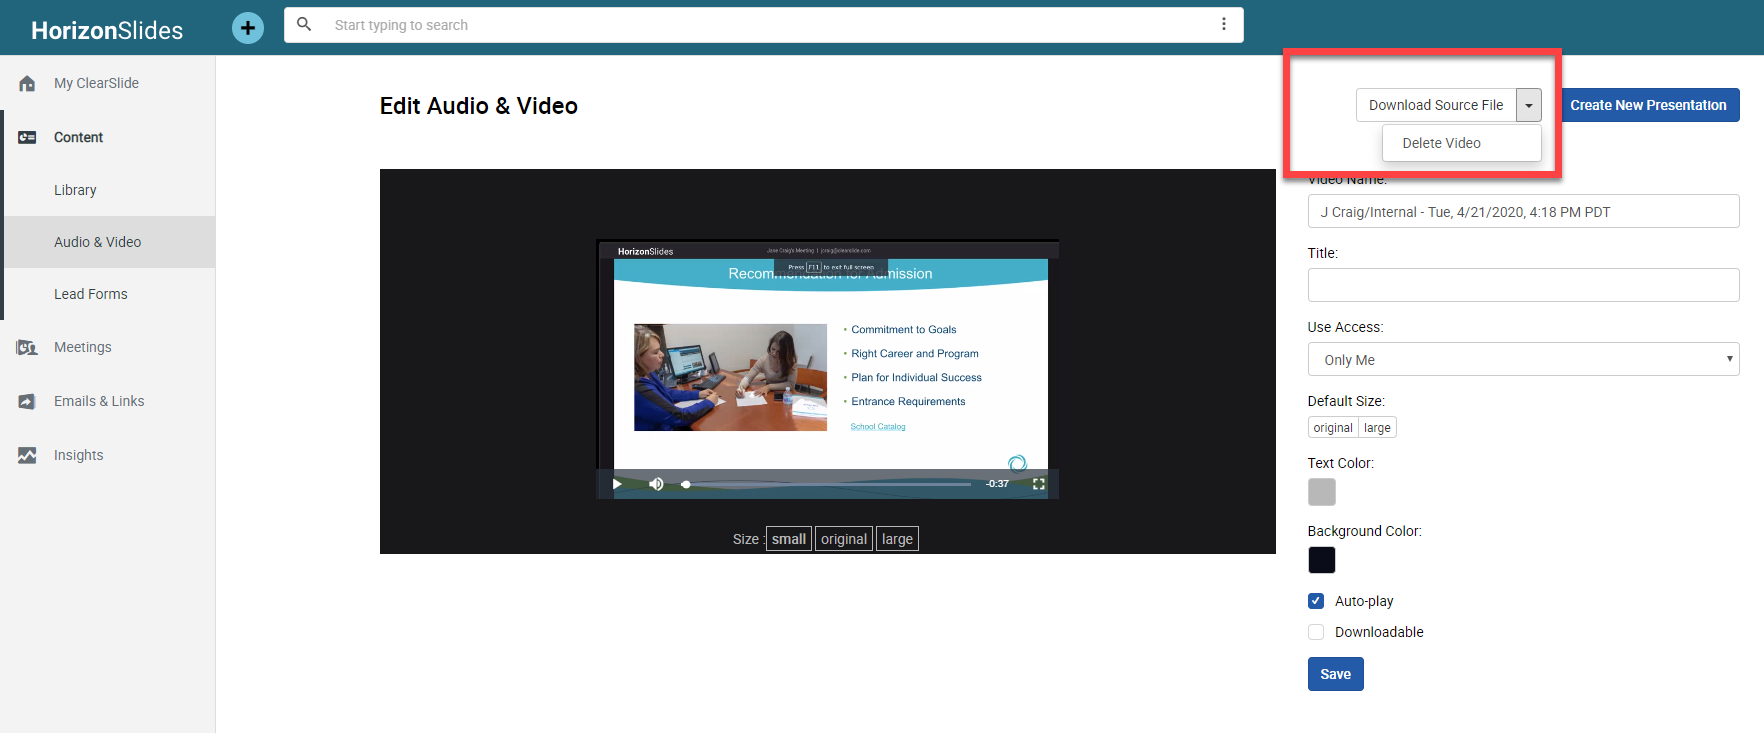
Additionally, if you wish to download the source file or delete the file from ClearSlide entirely, use the dropdown in the upper right corner of the page.

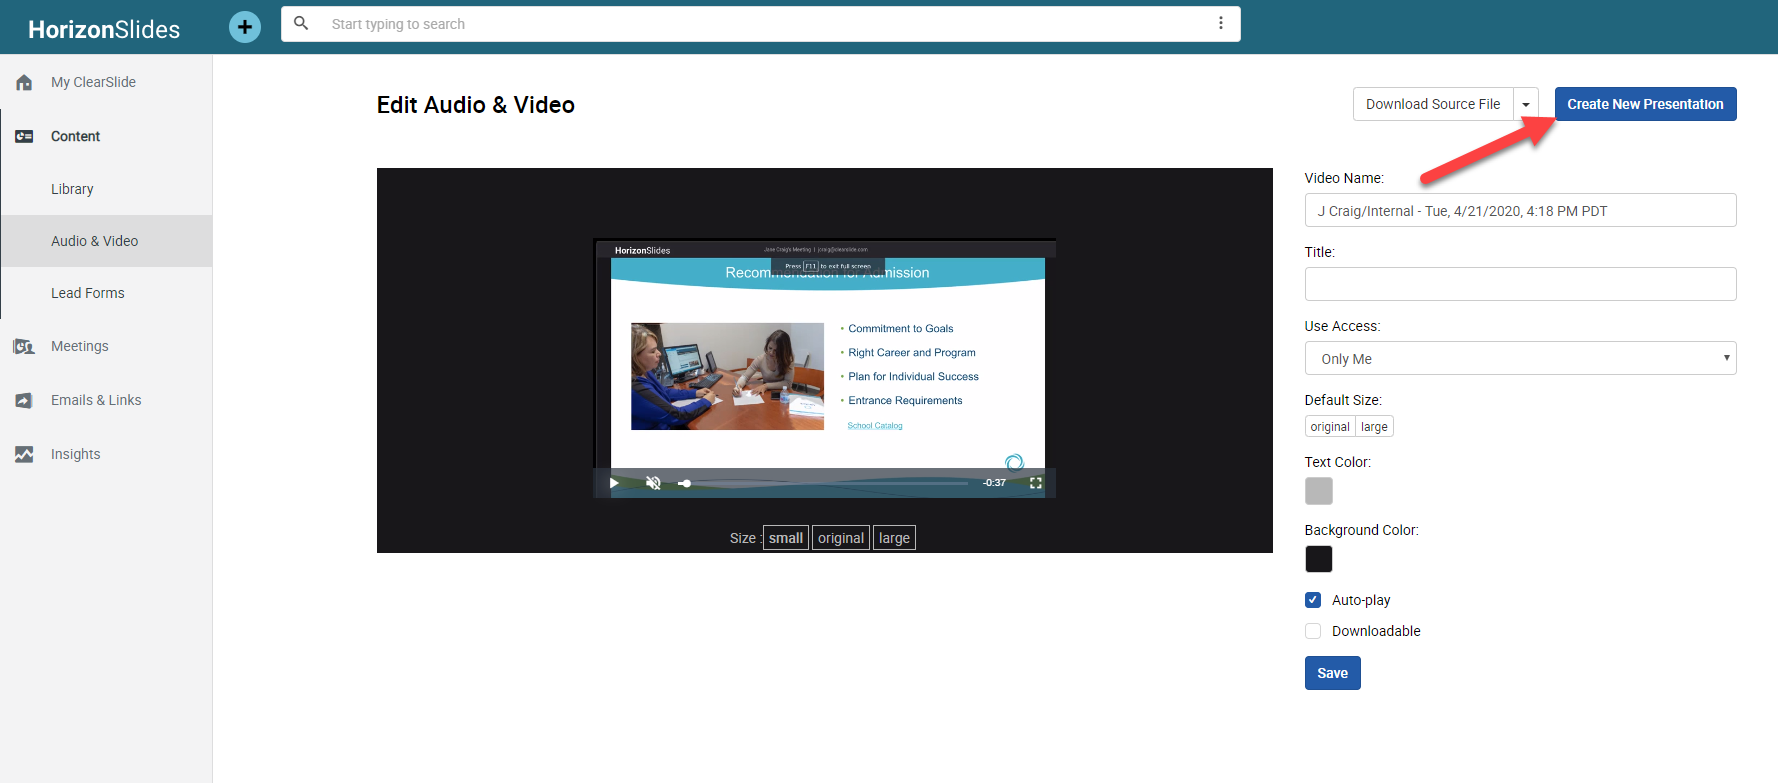
Now, if you want to share your Audio/Video file (either via Email or Live Meeting), you need to turn it into an Asset. Click the "Create New Presentation" button in the upper right corner of the page to do so. Note that the title of your new Asset will be the Video Name found on the video detail page, so you may want to edit the title of your Asset once it's been created so that it's more easily searchable.

Comments
0 comments