Recording your presentation is as simple as the click of a button, and it can be a helpful tool for personal growth and bolstering client relationships. Here are a few examples of when and why Meeting Recording is helpful
1. If one of your customers or prospects is unable to join a group call, having a copy of the call recording on hand is convenient. Send the recording out to the client as an Email Link, and you'll be able to see if they ever listened to it!
2. Recorded Live Meetings can be helpful for managers. If you have new hires or members of your team on a performance plan, it's convenient to have meeting recordings accessible so you can make sure that they're ramping/improving as expected.
3. "Perfect Pitch" library. Use the Recording capabilities of ClearSlide to capture some of your team's best talk tracks. If there is a certain way that a deck should be pitched, create a recording that the rest of the team can use as a guide.
If you plan to record your meeting, make sure you are dialed into your ClearSlide conference bridge. If you do not have (or choose not to use) your ClearSlide conference bridge, then the recording will only capture the visuals of your movement from slide to slide or within your screen share. Audio will NOT be captured. If you use another colleague's ClearSlide conference bridge, that is also ineffective for capturing the meeting audio.
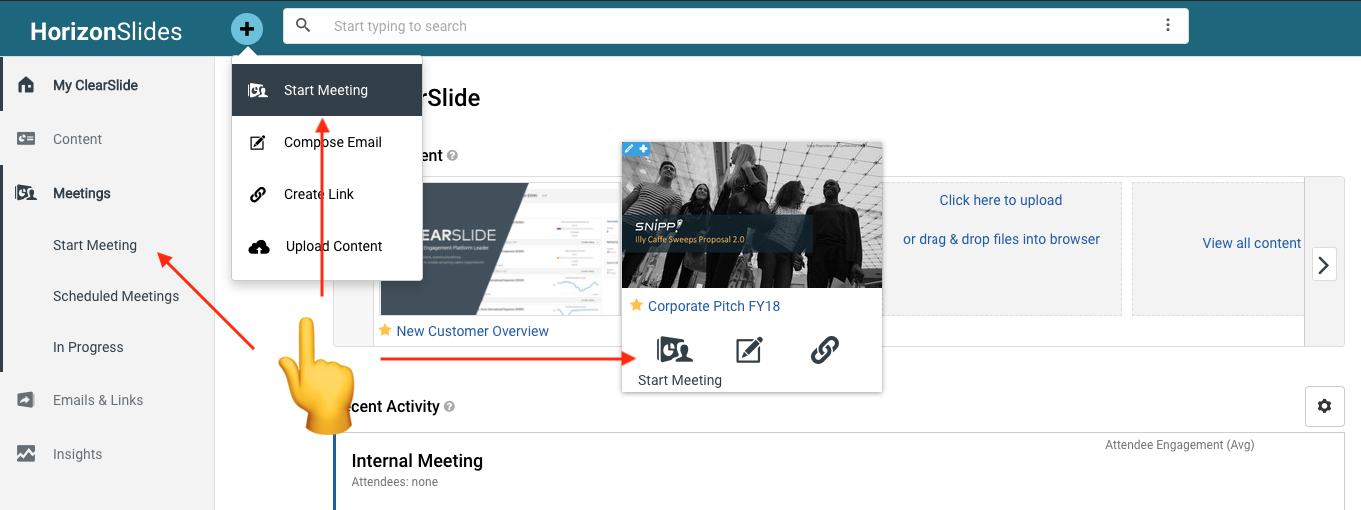
1. Start your Live Meeting.

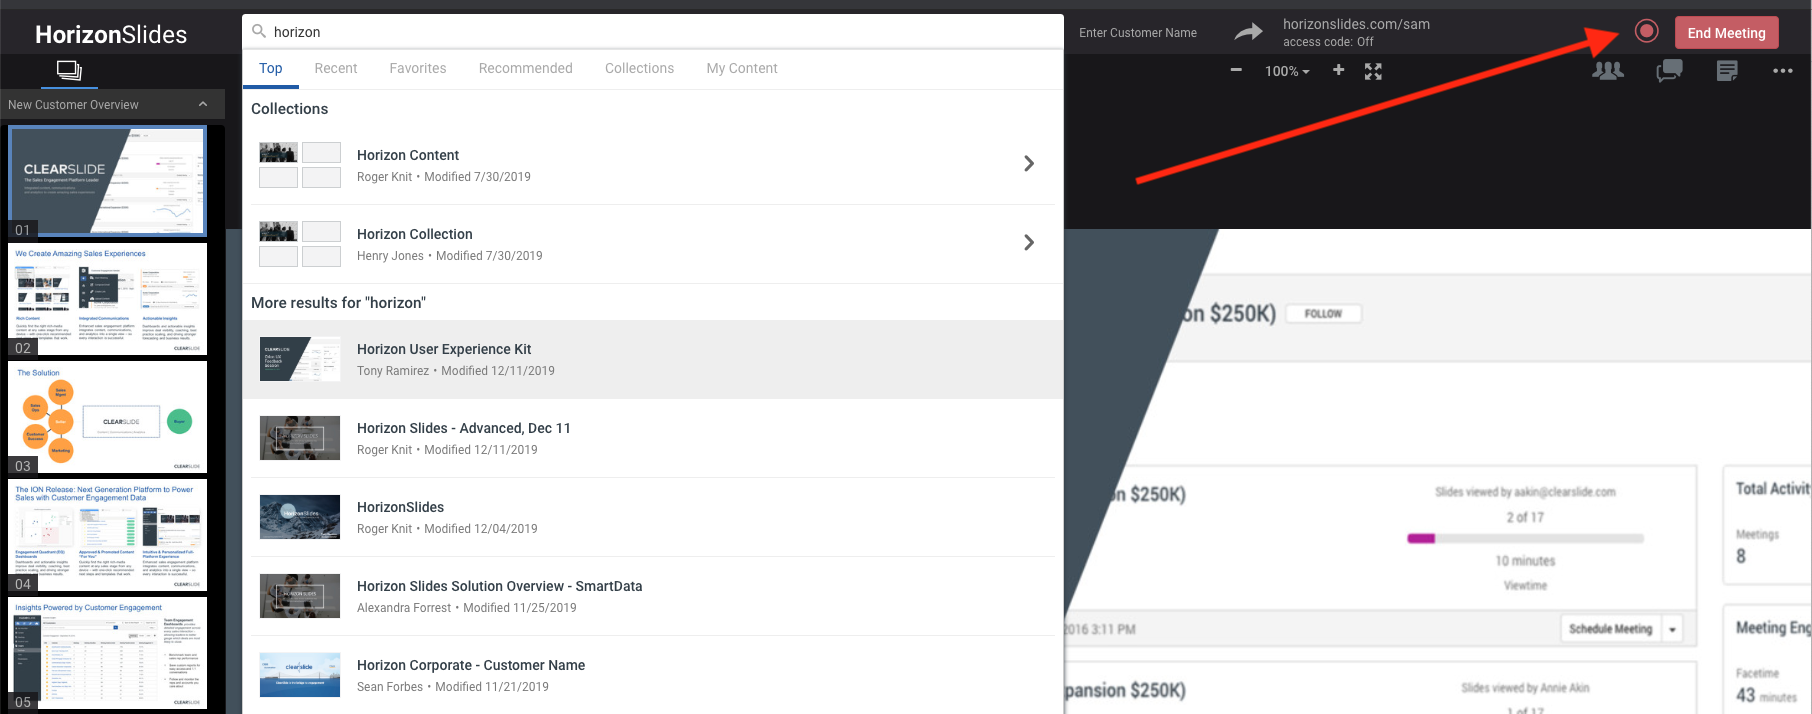
2. Once in your Live Meeting, look in the upper right corner of the page, and you'll see a small circle icon (next to the "End Meeting" button). Click it.

3. A small window will appear. Click the red "Start Recording Meeting" button. That window also reminds you that you must be dialed into your ClearSlide conference bridge to capture the audio of your Live Meeting.
4. If you are already dialed into your ClearSlide conference bridge, once you have clicked the "Start Recording Meeting" button, you will hear a lovely ClearSlide robot say "Your meeting is now being recorded." From that point on, both the audio from your conference bridge and the visuals on your Meeting Link are being captured.
5. If at any point you no longer wish for your meeting to be recorded, click the "Record" icon again and you will see a button to "Stop Recording." Click that to cease the recording.
6. Once you have ended your Live Meeting, your recording will be accessible on your Meeting Recap page. It will also be accessible within the Audio/Video library.
Comments
0 comments