New Join Meeting Experience
-
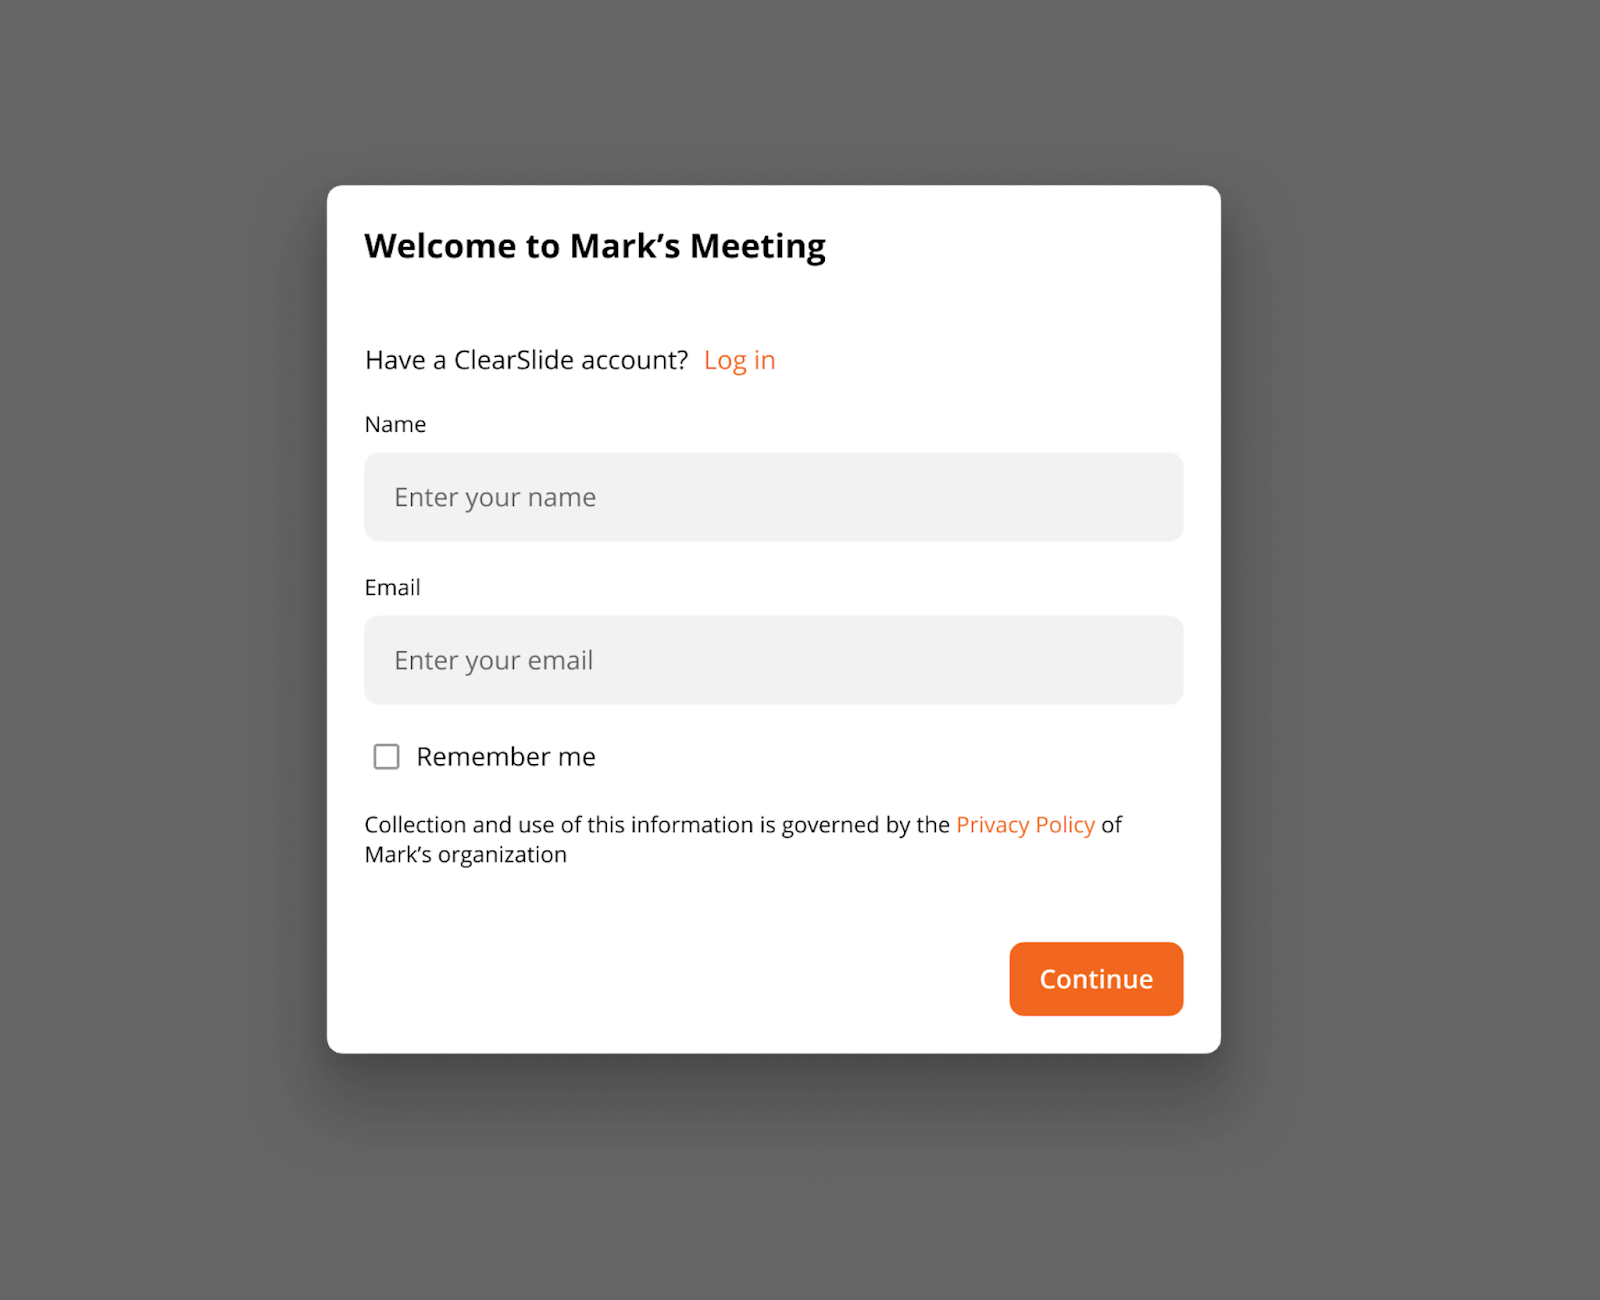
When meeting participants open your meeting link they will see a lead form if you’ve included one or they will be taken directly to the Join Meeting page. If the participant is a licensed user in your tenant they will have the option to Log In. External participants will need to enter the required fields in the lead form, then click on the Continue icon.
-
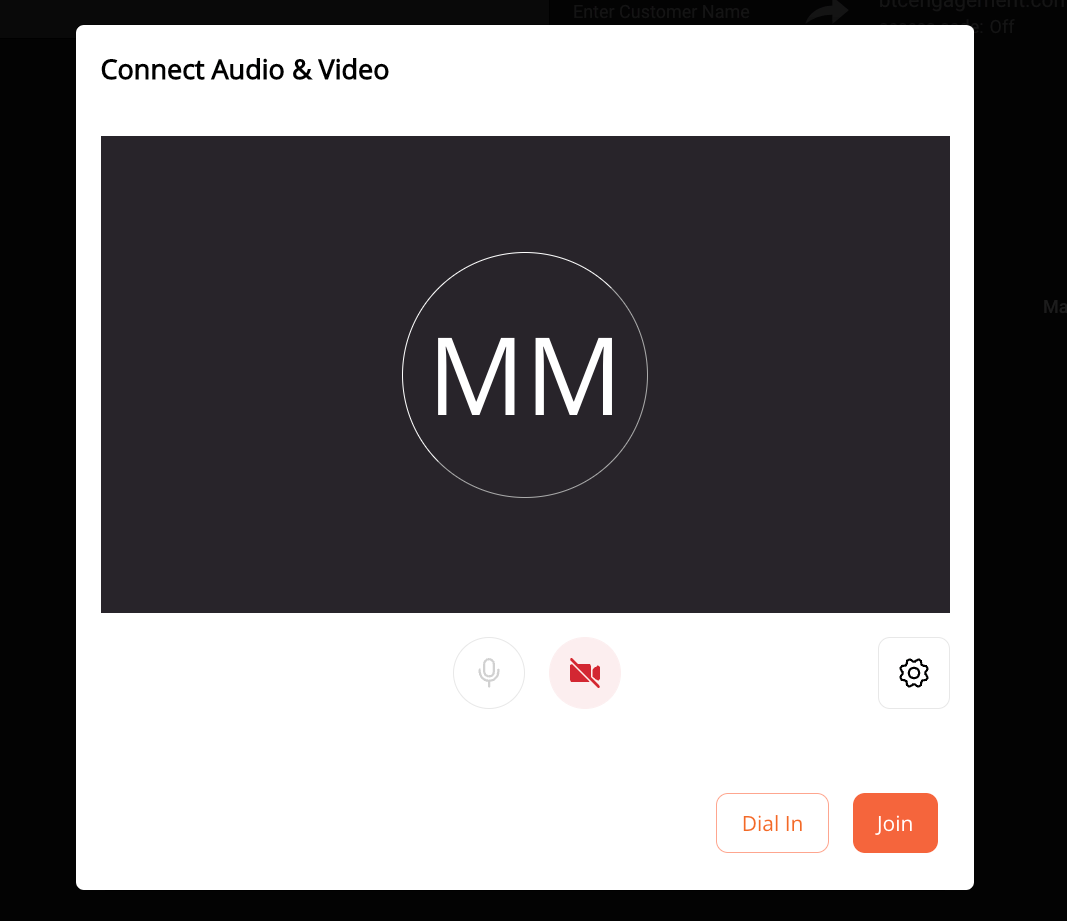
Once participants click Continue they will be greeted by the Connect Audio & Video modal.

-
Users can disable or enable their microphone audio by clicking on the microphone icon.
-
Users can disable or enable their camera video by clicking on the camera icon.
-
-
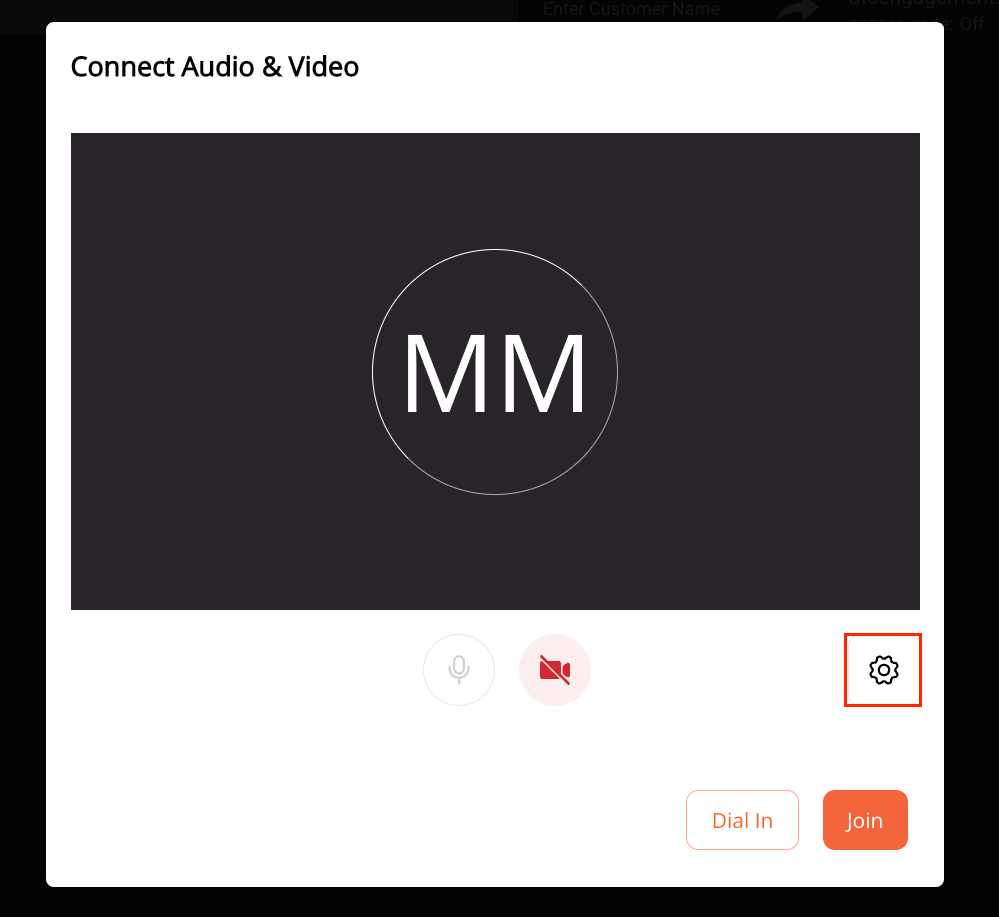
To adjust additional settings, click on the settings icon.

-
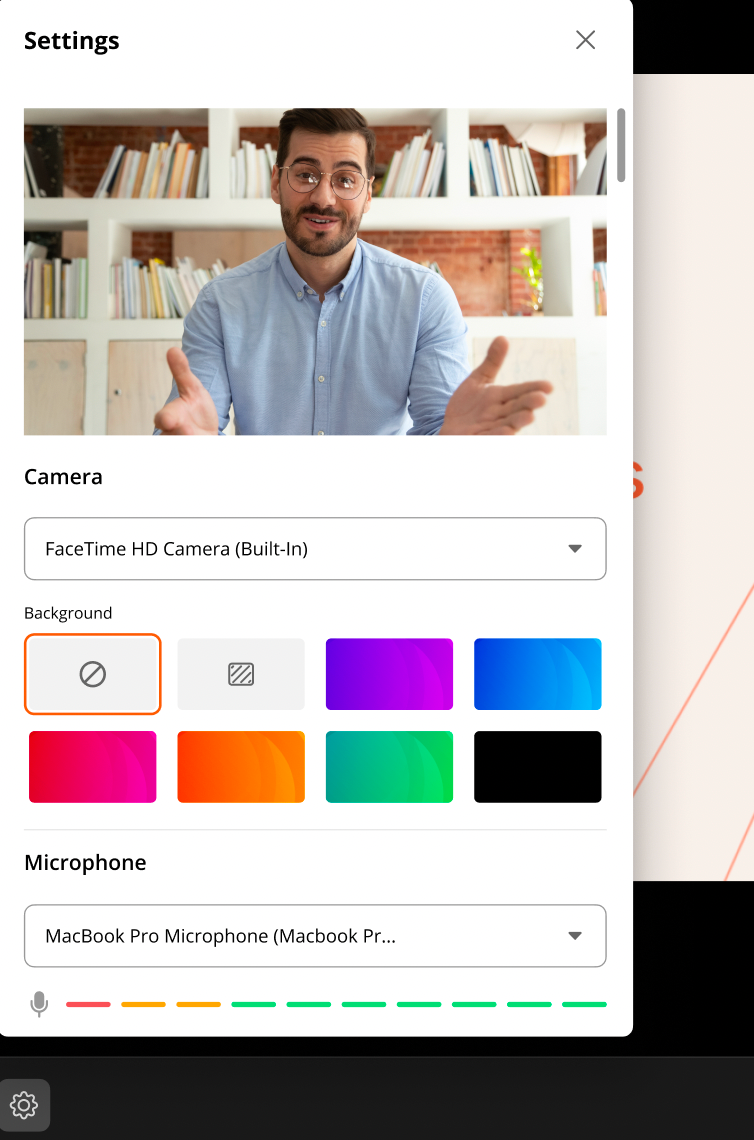
Users can manage their camera, microphone, and speaker preferences from the settings menu. We’ve added the option to use a blurry background for all meeting participants, or choose a custom background that has been provided by Admins for authenticated participants. Once they have configured their meeting preferences, users will click on the Use Dial In icon if they will be calling into your meeting or use the Join icon if they will be using their computer microphone.
Virtual Backgrounds
Your team can now stay on brand and create an elevated and professional meeting experience by using professional company-approved backgrounds from a curated list created by admins!
Administrators can now add up to 6 custom backgrounds for their tenants. Authenticated users will then be able to choose from those pre-approved backgrounds or the ability to blur their backgrounds. If no custom backgrounds are added, users will only be able to use the default no background or blurry background options.
NOTE: Only logged-in users will be able to choose from a custom background that has been provided by their Administrators.
How to add backgrounds as an Admin:
-
Navigate to My Account>Admin Settings
-
From the Admin Settings area, select Branding.
-
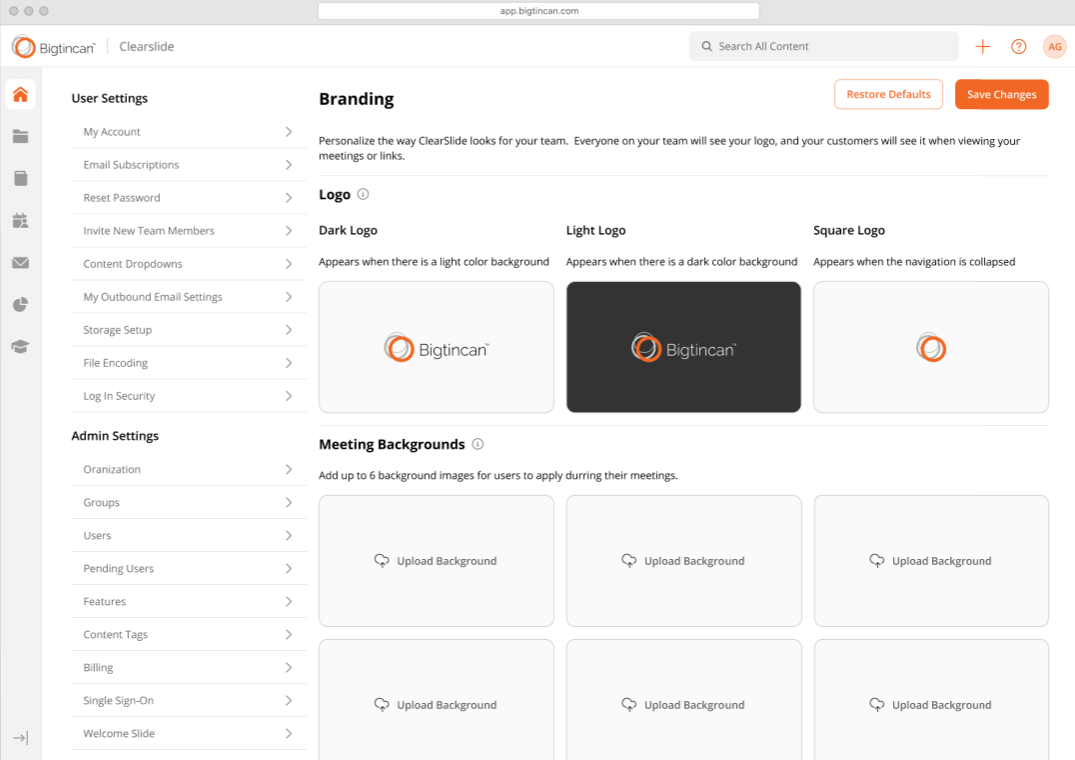
From the Branding page, click on Upload Background. Select the appropriate background file you would like to upload from your computer.
-
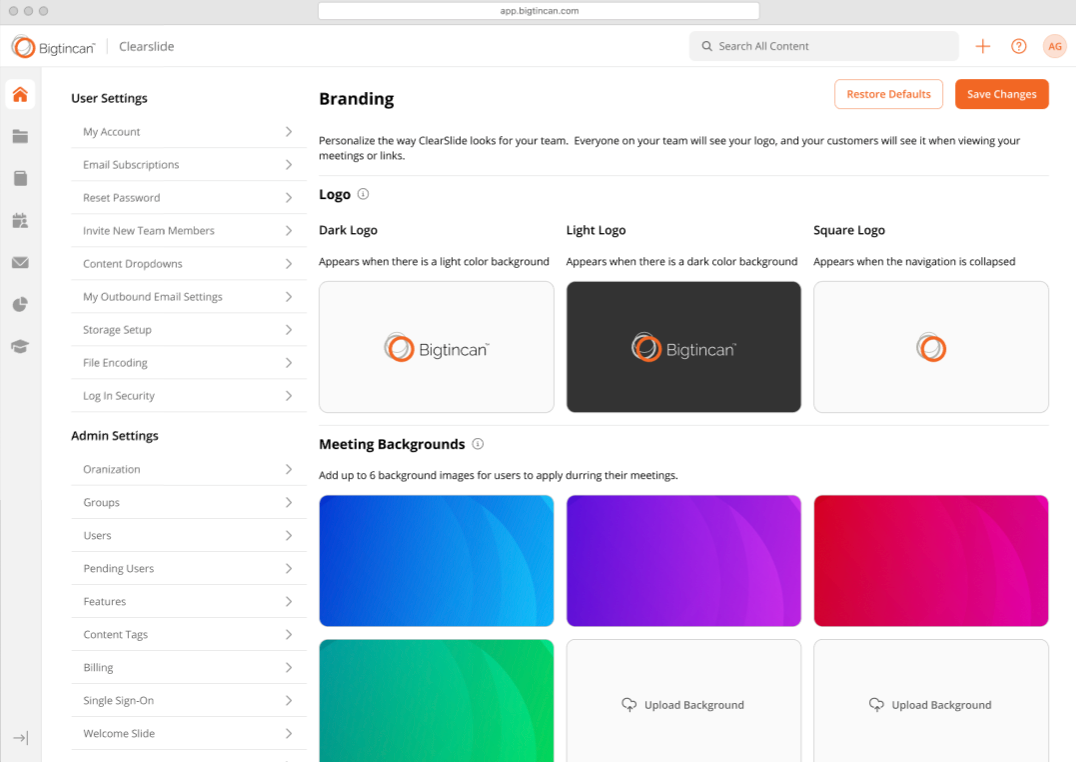
Once you have selected the background to upload, you will see your uploaded background preview appear. You will be able to upload a maximum of 6 backgrounds.
-
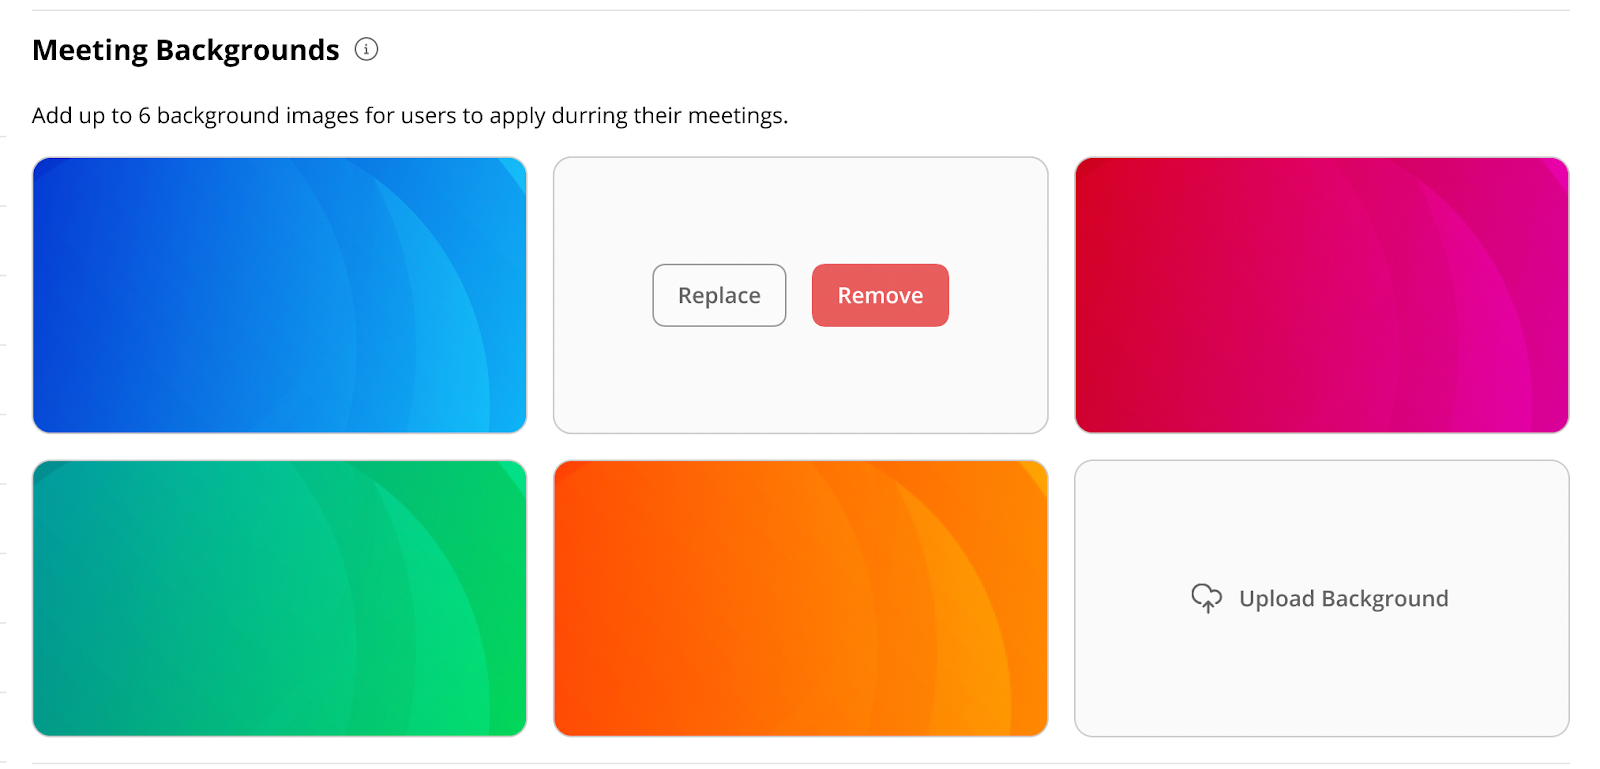
If you would like to remove or replace a previously uploaded background, simply hover over the preview image of the background and click on Remove or Replace.
How to apply backgrounds while joining a meeting:
-
While joining a meeting as a user, you will be greeted by the Connect Audio & Video menu.
-
To change your background settings, click on the settings icon.
-
You will now be able to choose from the Administrator’s previously uploaded backgrounds.
-
You can select a previously uploaded background, to blur your background, or have no background at all. Once you have decided on your background, click either the Join or Dial In button.
How to apply backgrounds after joining meeting:
-
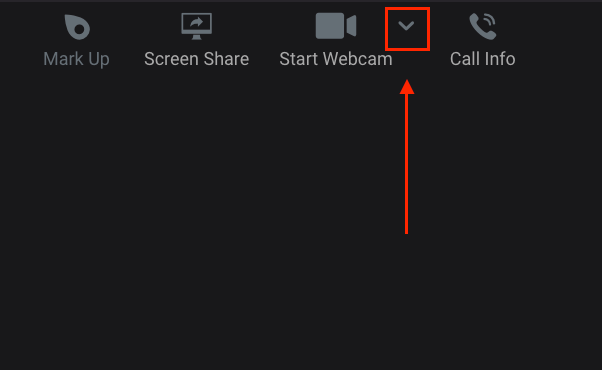
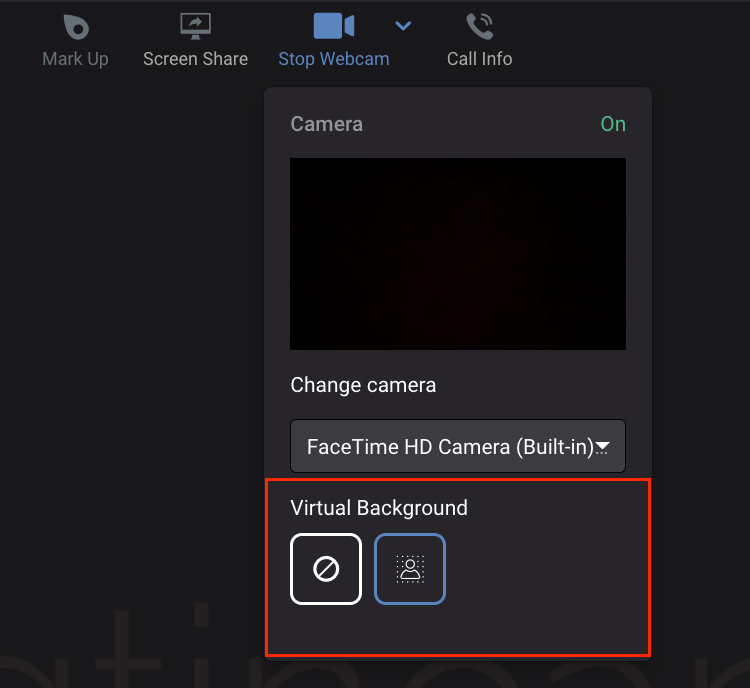
If you have already joined your meeting, you will still be able to apply a background. Simply click on the down arrow next to the webcam icon.
-
You can then select a previously uploaded background, to blur your background, or have no background at all.
Voice Focus
The Voice Focus feature filters out background noise to focus on the speaker talking. Voice Focus will be on by default. However, any user will be able to disable Voice Focus from their settings.
NOTE: You may want to disable this setting if you are in a conference room or if you want to have music playing in the background.
How to enable Voice Focus while in a meeting:
-
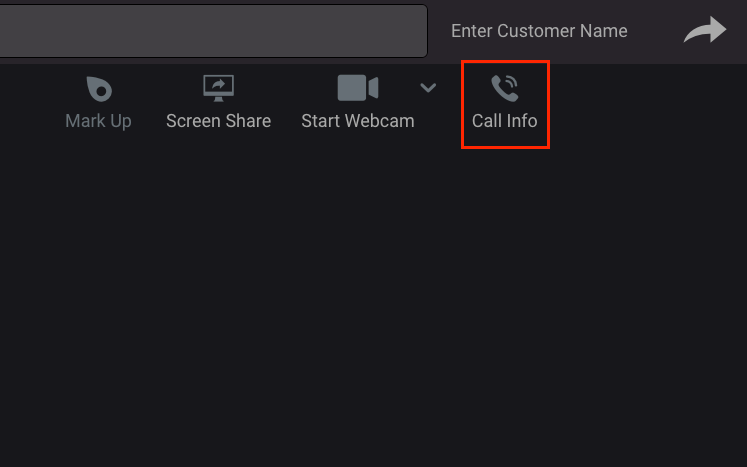
While in a meeting, click on the Call Info button.
-
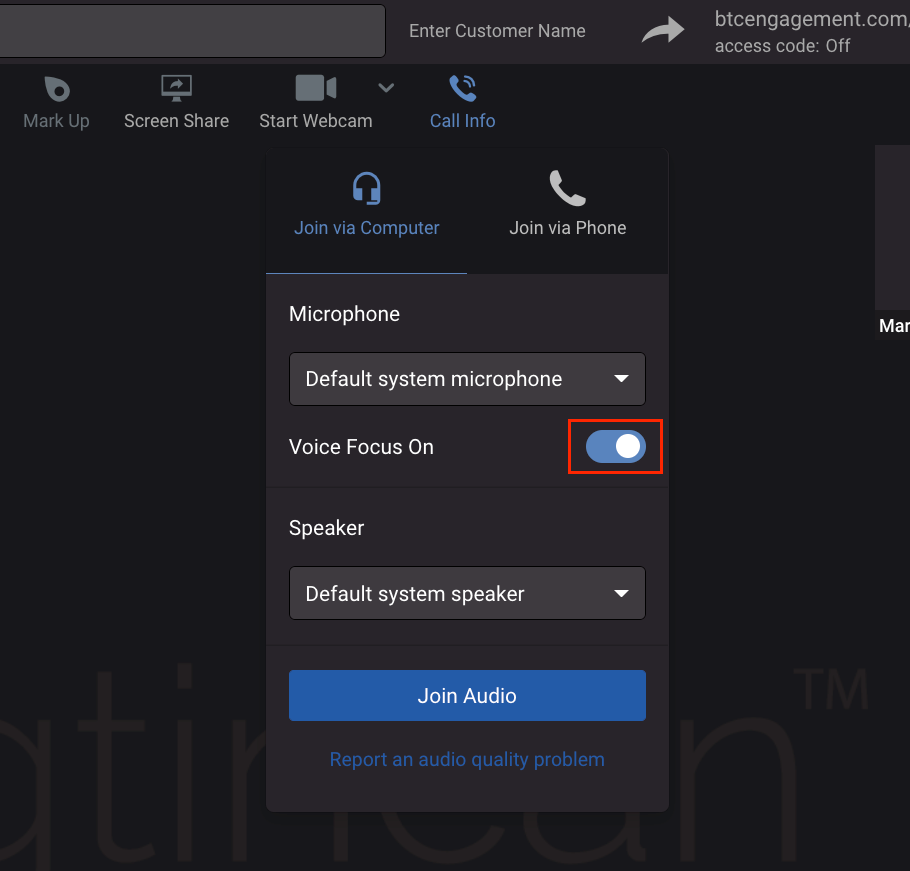
Turn Voice Focus on or off by clicking on the Voice Focus toggle.
Comments
0 comments