The Clearslide Outlook Add-in allows users to easily access some of Clearslide’s features straight from their Outlook Toolbar. The following article outlines the steps on how to use the Clearslide Add-in.
Before you begin make sure you have properly installed the Add-in, please visit How to Install Outlook for Clearslide for complete instructions.
Note: The Clearslide Outlook Add-in provides the same experience for users of Outlook on Windows (Microsoft 365 subscription), Outlook on Mac (Microsoft 365 subscription), and Outlook for Web.
Note: The minimum version is Outlook 2016, as specified on this page of our add-in in the store - Find the right app | Microsoft AppSource
Note: Customers who have previously installed the Clearslide Plug-in on the Outlook 2016 desktop version will need to install the Add-in using the directions below.
How to Use the Outlook Add-in
Notification Section

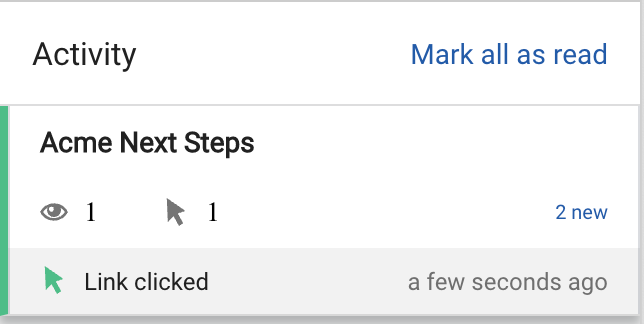
The notification section contains your email message list along with the viewing metrics of each message.

-
The ‘Eye’ icon represents opens.
-
The ‘Arrow’ icon represents clicks.
-
Emails with one recipient view will show the email address of the recipient who opened the email.

-
Emails with multiple recipients who viewed the email or clicked a link will show ‘Email opened’ or “Link clicked”.
-
-
When there is a new notification, the notification icon will change to reflect the number of new notifications.

Template Section

You will be able to search for or filter the template list in order to find the appropriate template.
To search for specific templates, enter your search within the ‘Find template’ search bar. To filter the template list, click on the filter icon next to the search bar.
Note: The default sorting of the template list is by relevance.

Filters
- Sort By:
Relevance
Modified
Title
Owner
Content:
All
My Content
Bookmarked
Tags
Applying Templates
-
Search for the template within the template section.
-
Select the template.
-
Click the ‘Continue with Template’ button.

-
Adjust the layout and options to personal preferences.
-
Click the ‘Insert Template’ button.

-
Finish the message by updating and editing what is within the message section within Outlook before hitting the ‘Send with Clearside’ button on the right-hand side.
Content Section

Upload Content
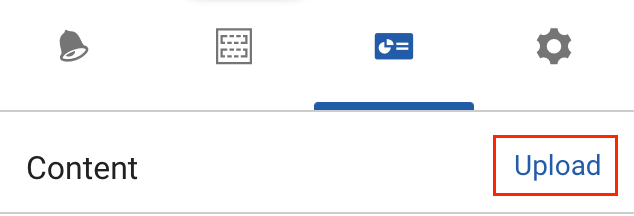
Clicking on the ‘Upload’ link will take you to a Clearside within your browser where you can upload content.
Filters
- Sort By:
-
Relevance
-
Modified
-
Title
-
-
Owner
-
Content:
-
All
-
My Content
-
Bookmarked
-
-
Tags
-
Recommended For: Content that is automatically recommended for the customer selected.
Applying Content
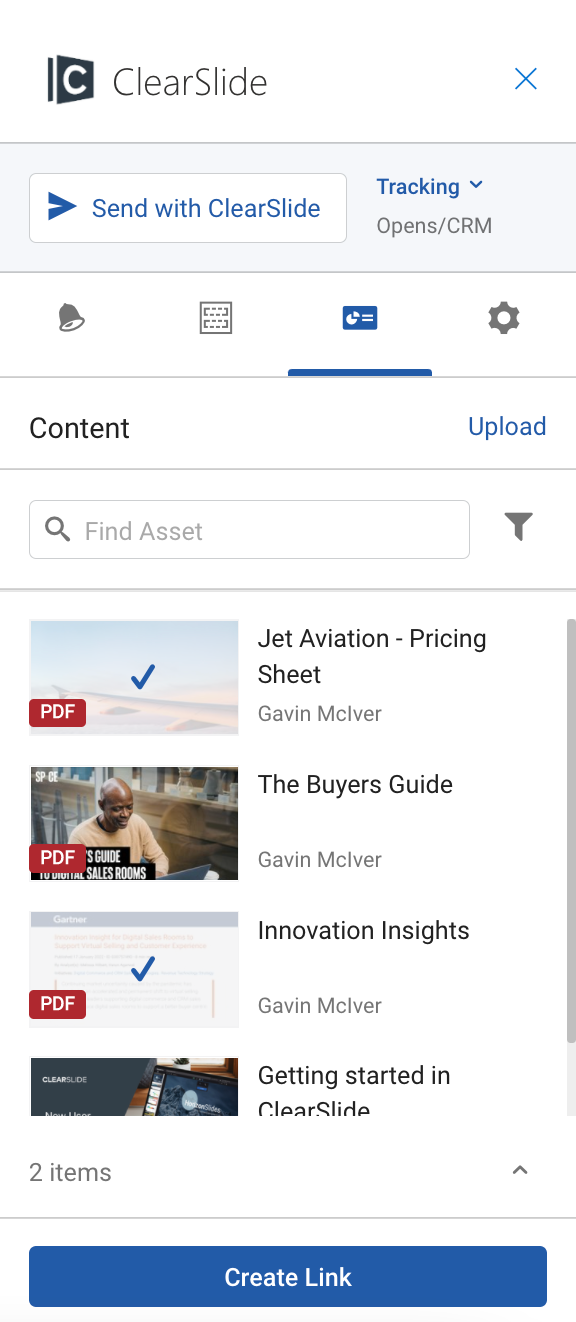
With the Clearslide Outlook Add-in, you will be able to add and create Clearside content within your Outlook email message.
To apply content:
-
Within the Content section, select the content you would like to add to the email.
-
Click the ‘Create Link’ button.
-
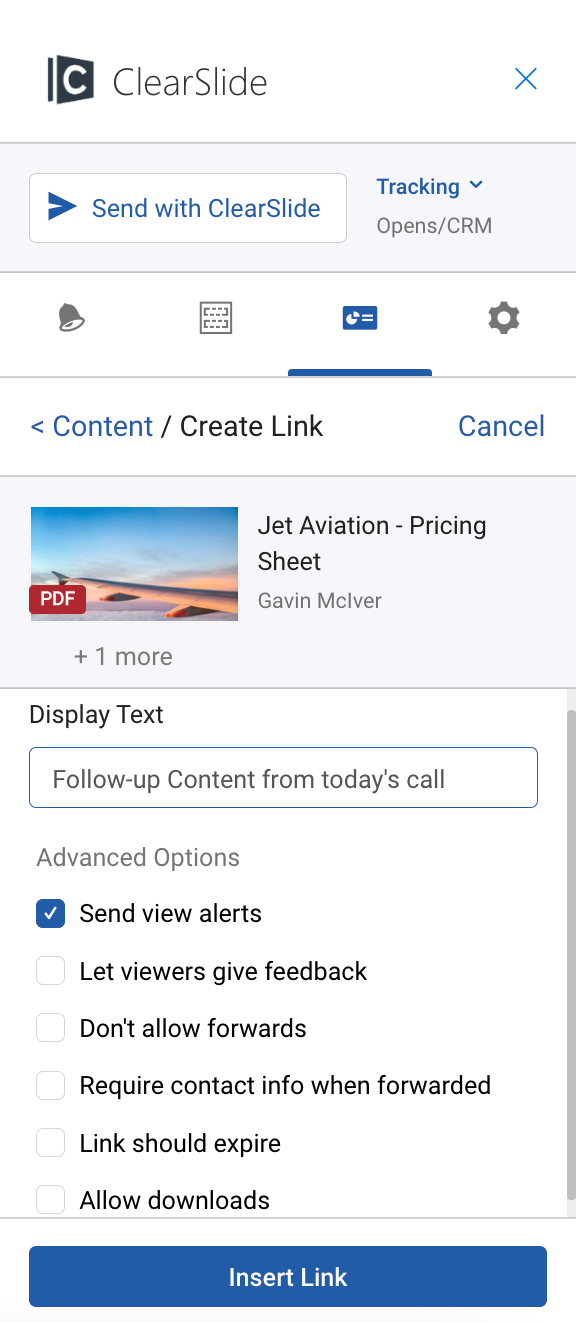
Create the name of the link by entering the name into the ‘Display Text’ box.
-
Confirm any additional options by checking off the box next to each option you would like to add.
-
Click the ‘Insert Link’ button.
Tracking
Previously, there was no way to track content that was sent within the Outlook Clearside Add-in. With the ‘Send with Clearside’ button, emails can now be logged against multiple records in CRM and you will now be able to see and record opens.
Please note: for the email to be tracked, you must use the ‘Send with Clearside’ button.
To track your email:
-
Click the ‘Tracking’ menu next to the ‘Send with Clearside’ button.
-
Check off if you wish to track Opens, your CRM, or both.
-
Click the ‘Send with Clearside’ button.

Please note: Content added to an email is not registered as ‘shared’ until the email is actually sent. (Previously, once a file was added to the email it was recorded as "shared" even if it was then removed from the email before sending).
Settings Section

The settings section allows you to customize the different options within your emails, links, and templates.
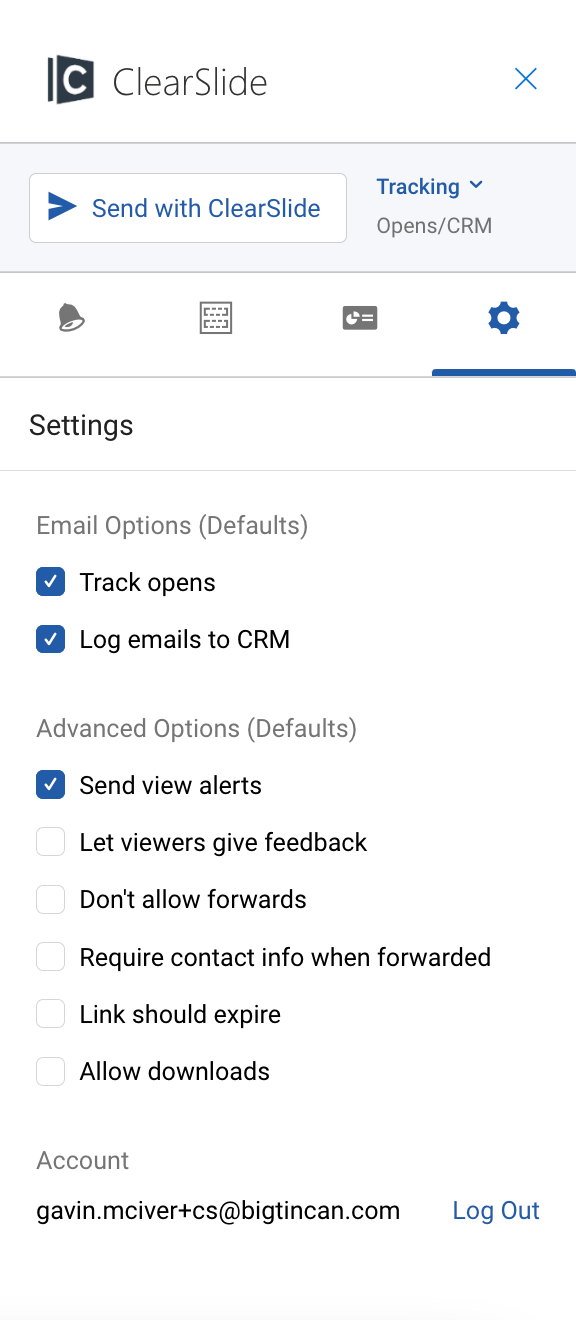
*Note: Whatever options you check off will be saved as the default settings for the next time you open a new message and create content with Clearside.
Comments
0 comments