Be confident your team will have the best possible range of information presented in a familiar format through the Events feature. You have access to a variety of customizations so that the Event is properly tailored to fit your team's unique needs.
Access Event Settings
-
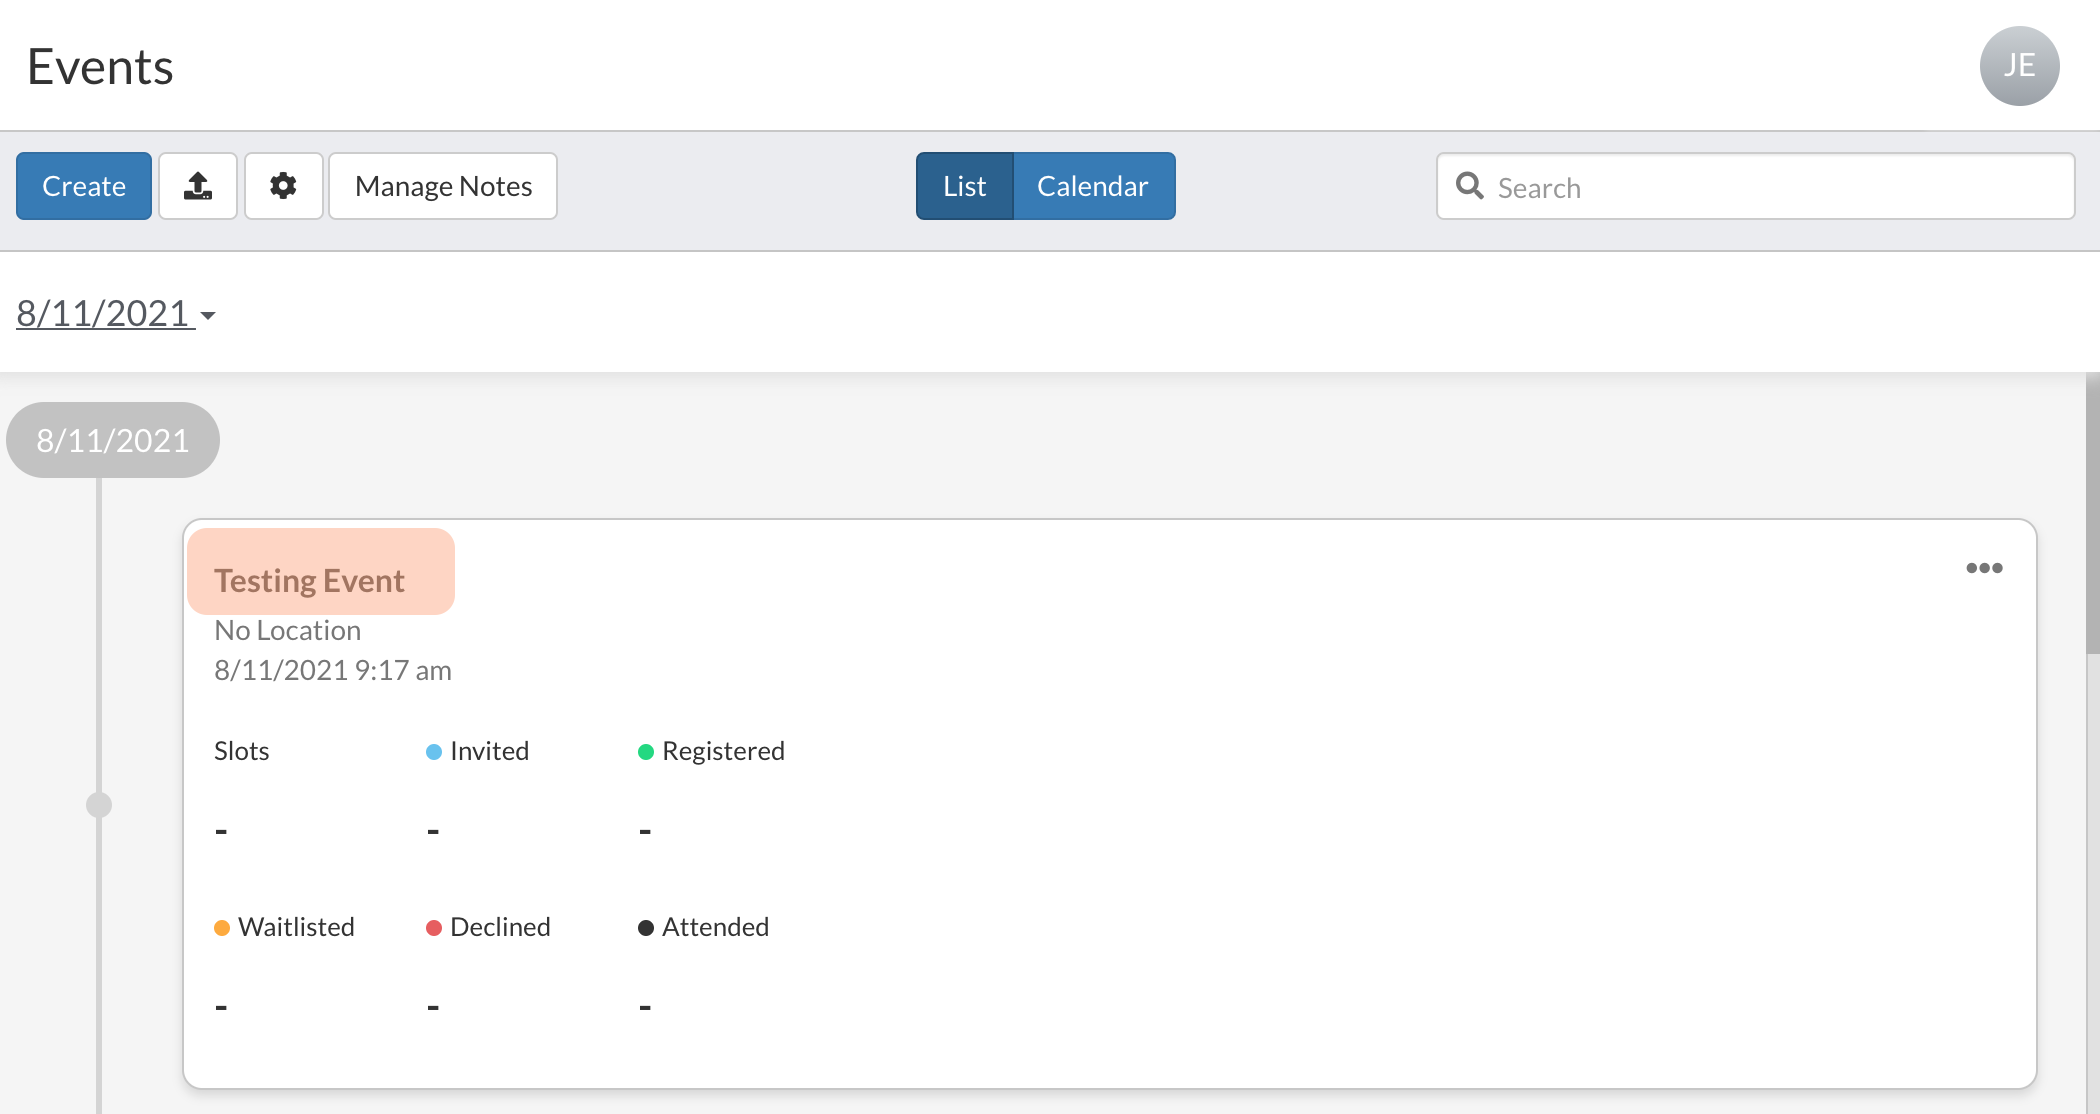
Select the Event title as it appears under the Events section. If you need to create the Event, see How to Create an Event.

Settings
-
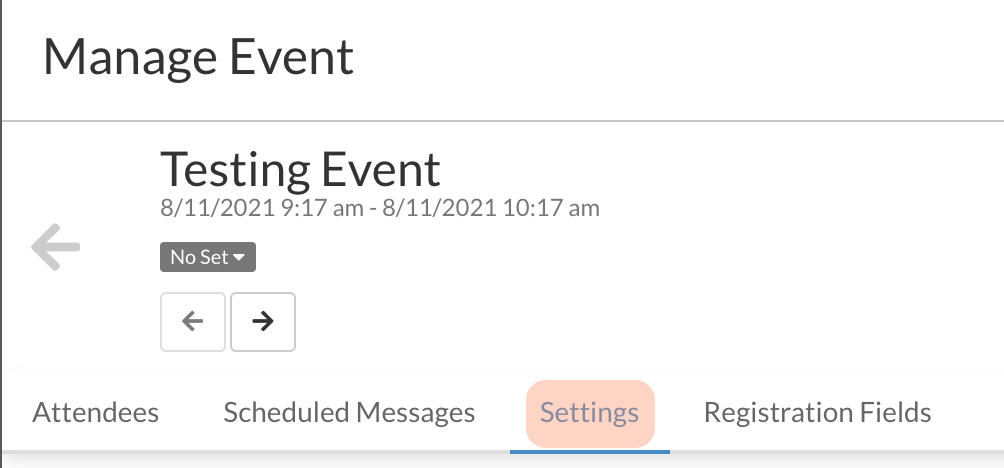
After selecting the Event's title, you will have access to a number of tabs with a variety of functions. Locate the "Settings" tab and select.
 This will bring you to a section with a myriad of possible customizations ranging from Basic Information to Location Specifics and more. Below we go through, in sequential order, every section listed in Settings tab. Many customizations may not apply to the Event in question, in which case they may be left blank.
Basic Info 
- Name: Give an appropriate title to the Event by clicking the provided text box
- Description: Give a short description of relevant information in the provided textbox
- Active: When enabled, the Event will be available for registration unless a specific date has been designated in the "Date and Time" section. See below
Notes

- Adding Global or Local Notes: Any information you may want to include beyond the basic description can be added as a note and attached to the event. For more information on adding notes please see Adding Notes to Events.
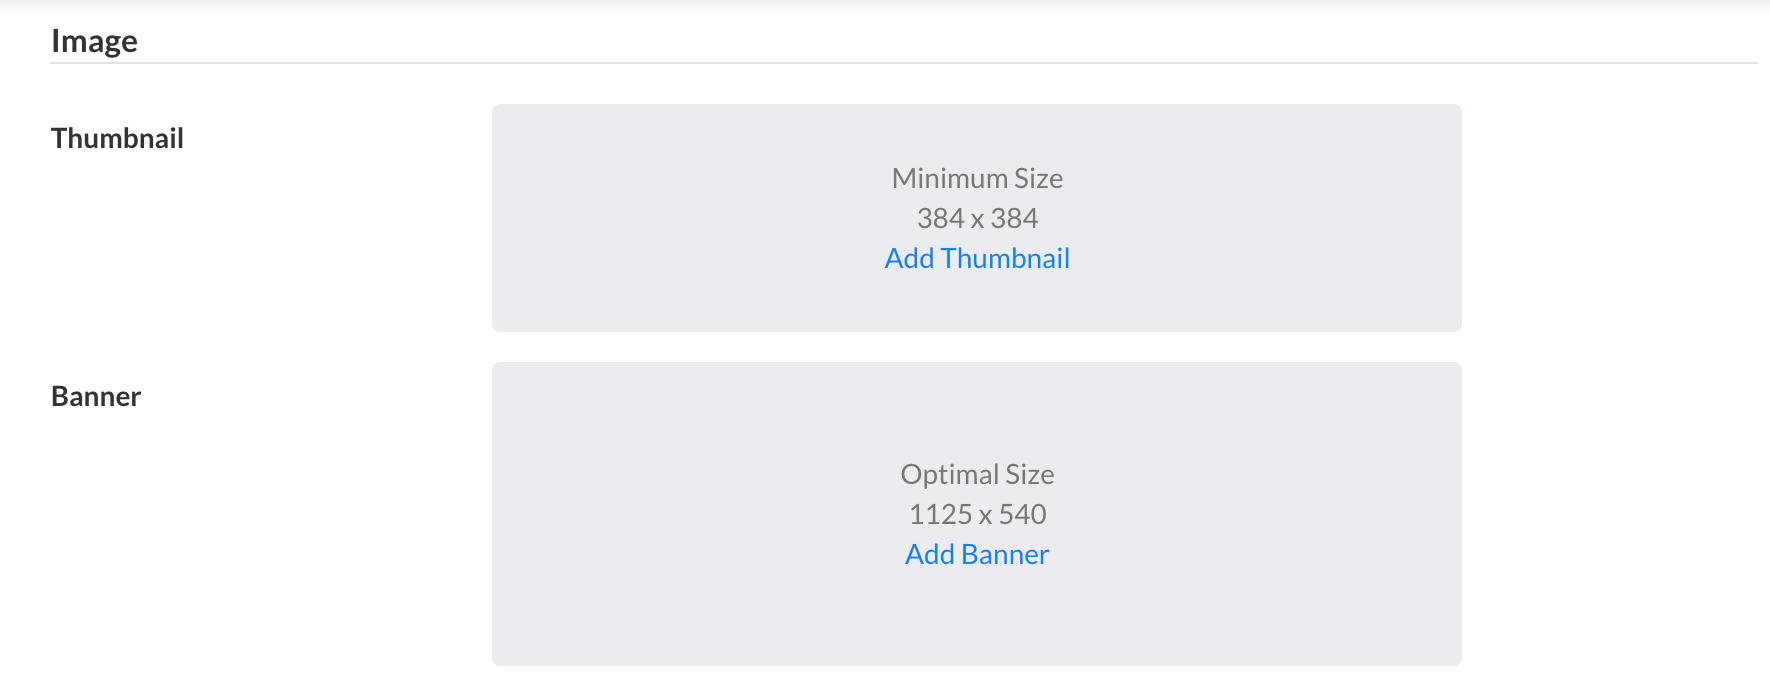
Image 
- Add Thumbnail: Add a company appropriate image to associate with this Event. The thumbnail will appear as a smaller image user's will click on to access the Event and its details
- Add Banner: Add a company appropriate image to appear as a banner across the top of your Event's page.
Location 
- Location: Provide the location at which the Event will take place
- Geofencing Location: Event information appears on a users device when they are approaching the location
Attendance 
- Slots: Designate the number of seats open for this event. By default, the event will have an unlimited amount of openings
- Allow Waitlist: Enable this toggle if you have a limited number of openings, but want to allow interested patrons a potential invitation should someone drop out of the event
- Event Link: Send this Link to attendees in order to allow them to confirm a session
Date and Time
- Start Date: The commencement of the Event in relation to the designated Timezone
- End Date: The expected conclusion of the Event in relation to the designated Timezone
- Time Zone: Designate the appropriate timezone for the Event by which the Start/End Date will associate
- Registration Start Date: Event registration will begin on this date. If left empty, registration begins when the Event toggle "Active" is enabled
- Registration End Date: Event registration will end on this date. If left empty, registration ends when the Event begin
Contact Information
- Contact Email:Provide an email address to which users may communicate any information in regards to this specific event.
- Trainer: Once designated, the trainer has access to the events module in the iOS client.
After designating the specifics for this Event, you will begin inviting Attendees. For the complete instructions on inviting Attendees please see Attendees.
Comments
0 comments