Once you have created and customized your event, it's time to invite guests!
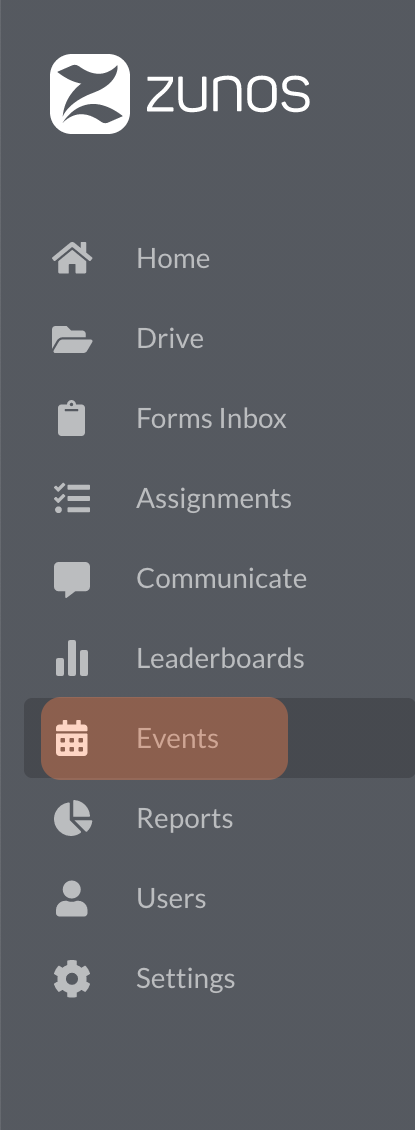
Navigate to the Events section in the Administrative Portal.
Invite Attendees
- Locate and Select the upcoming event. If the event has yet to be created, see How to Create an Event
- Once selected, you will have access to the Manage Event Page with a series of Tabs listed below the title. Select the "Attendees" tab
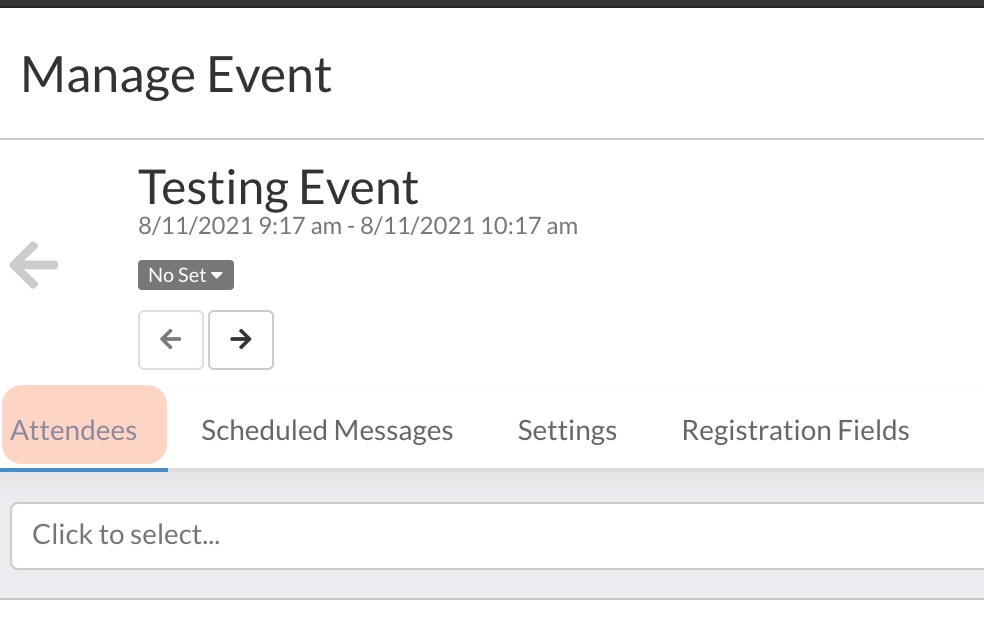
- In this tab, you will be able to invite guests/groups. Select the the search box directly below the tabs:
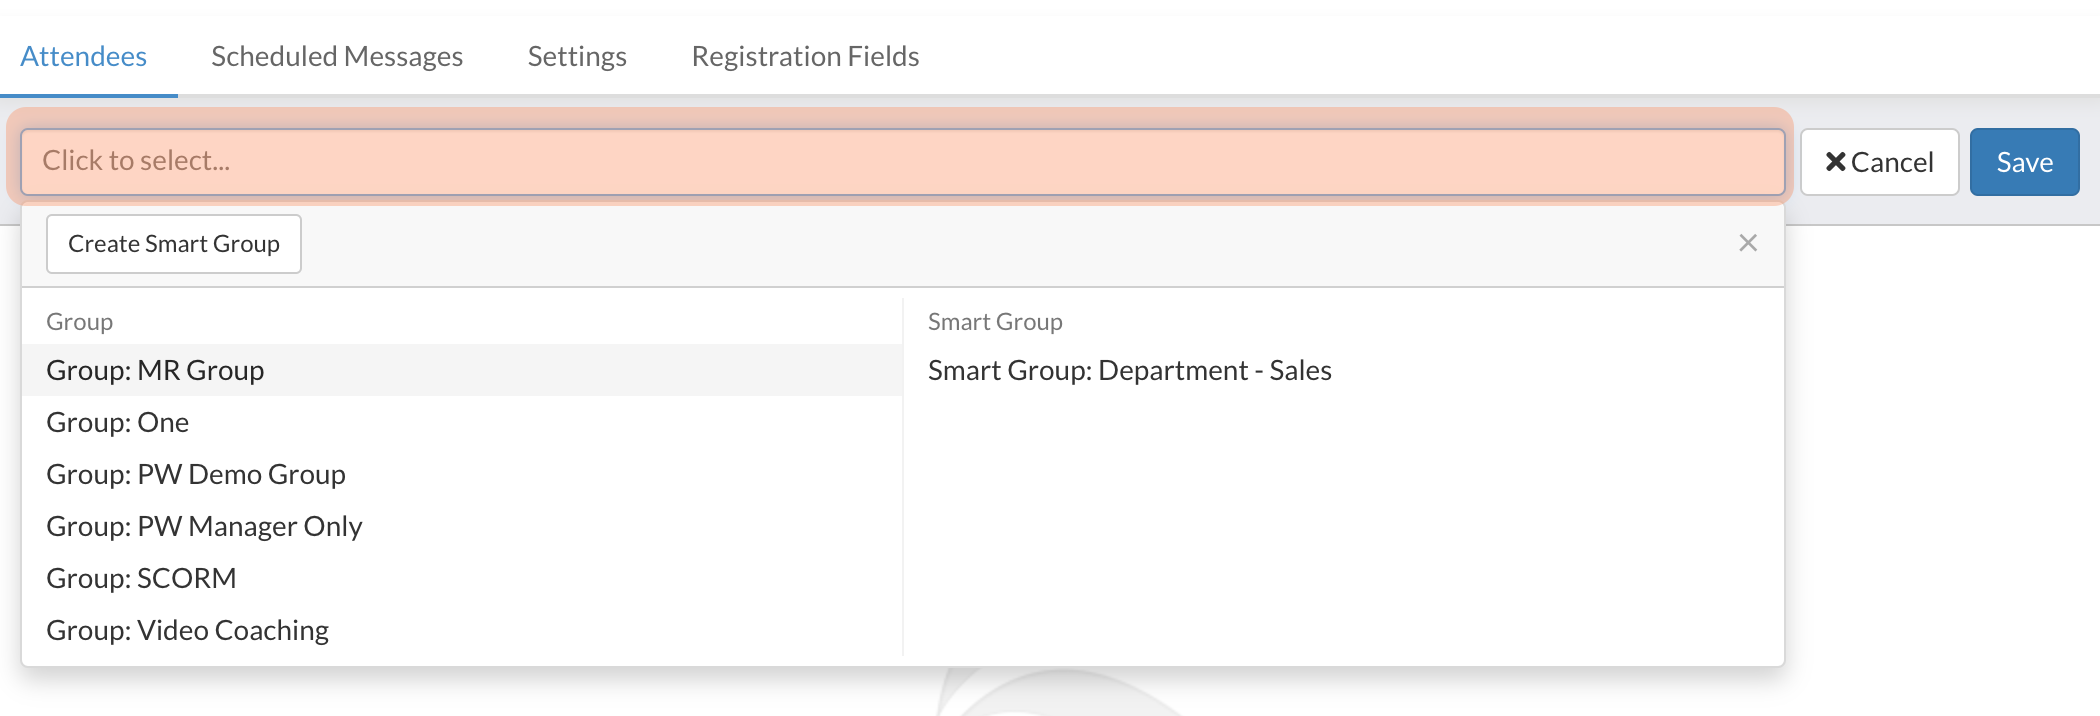
- Browse through listed groups/smart groups or type the name of the group. If group isn't found, you may need to create the group. See Groups and Smart Groups for more information
- Once all attendees are selected, they will automatically generate in a list below the search box:

- Once listed, there are a range of registration actions you may take. Select the ellipses under the "Actions" column:
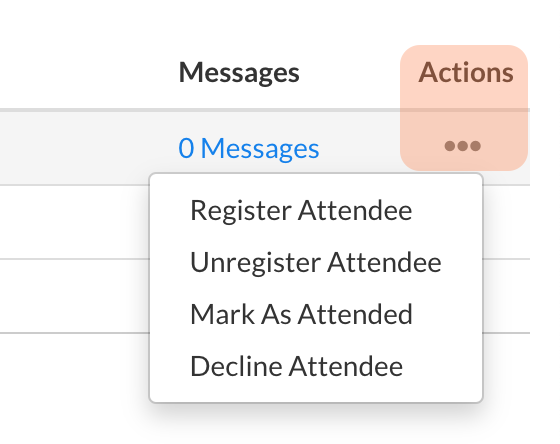
Register Attendee: Select this, and the user will be marked as registered. Unregister Attendee: Select this, and the registered attendee will be marked as unregistered. Mark As Attended: Select this to note the attendee was present. Decline Attendee: Select this if the attendee did not attend. - A users registration status will be noted with the appropriate label similar to the following:

Edit Attendees
If you wish to add or eliminate attendees:
- Select the "Edit Attendees" option directly below the tabs:
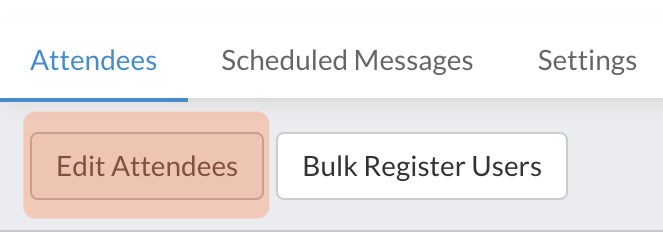
- This will repopulate the original search bar with previously included groups. Remove a group by selecting the accompanying "x" by the groups title
- Add an additional group by either browsing or searching for the desired group
- Finalize by selecting the "Save" option on the right of the search bar
Bulk Register Users
If you need to register many new users for an upcoming event, employ the "Bulk Register Users" option.
- Select the "Bulk Register Users" option, located to the right of "Edit Attendees" :
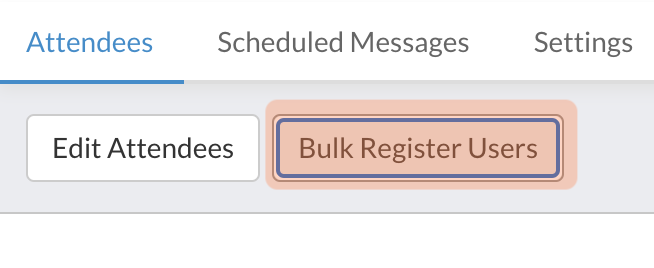
- This will prompt the following window:
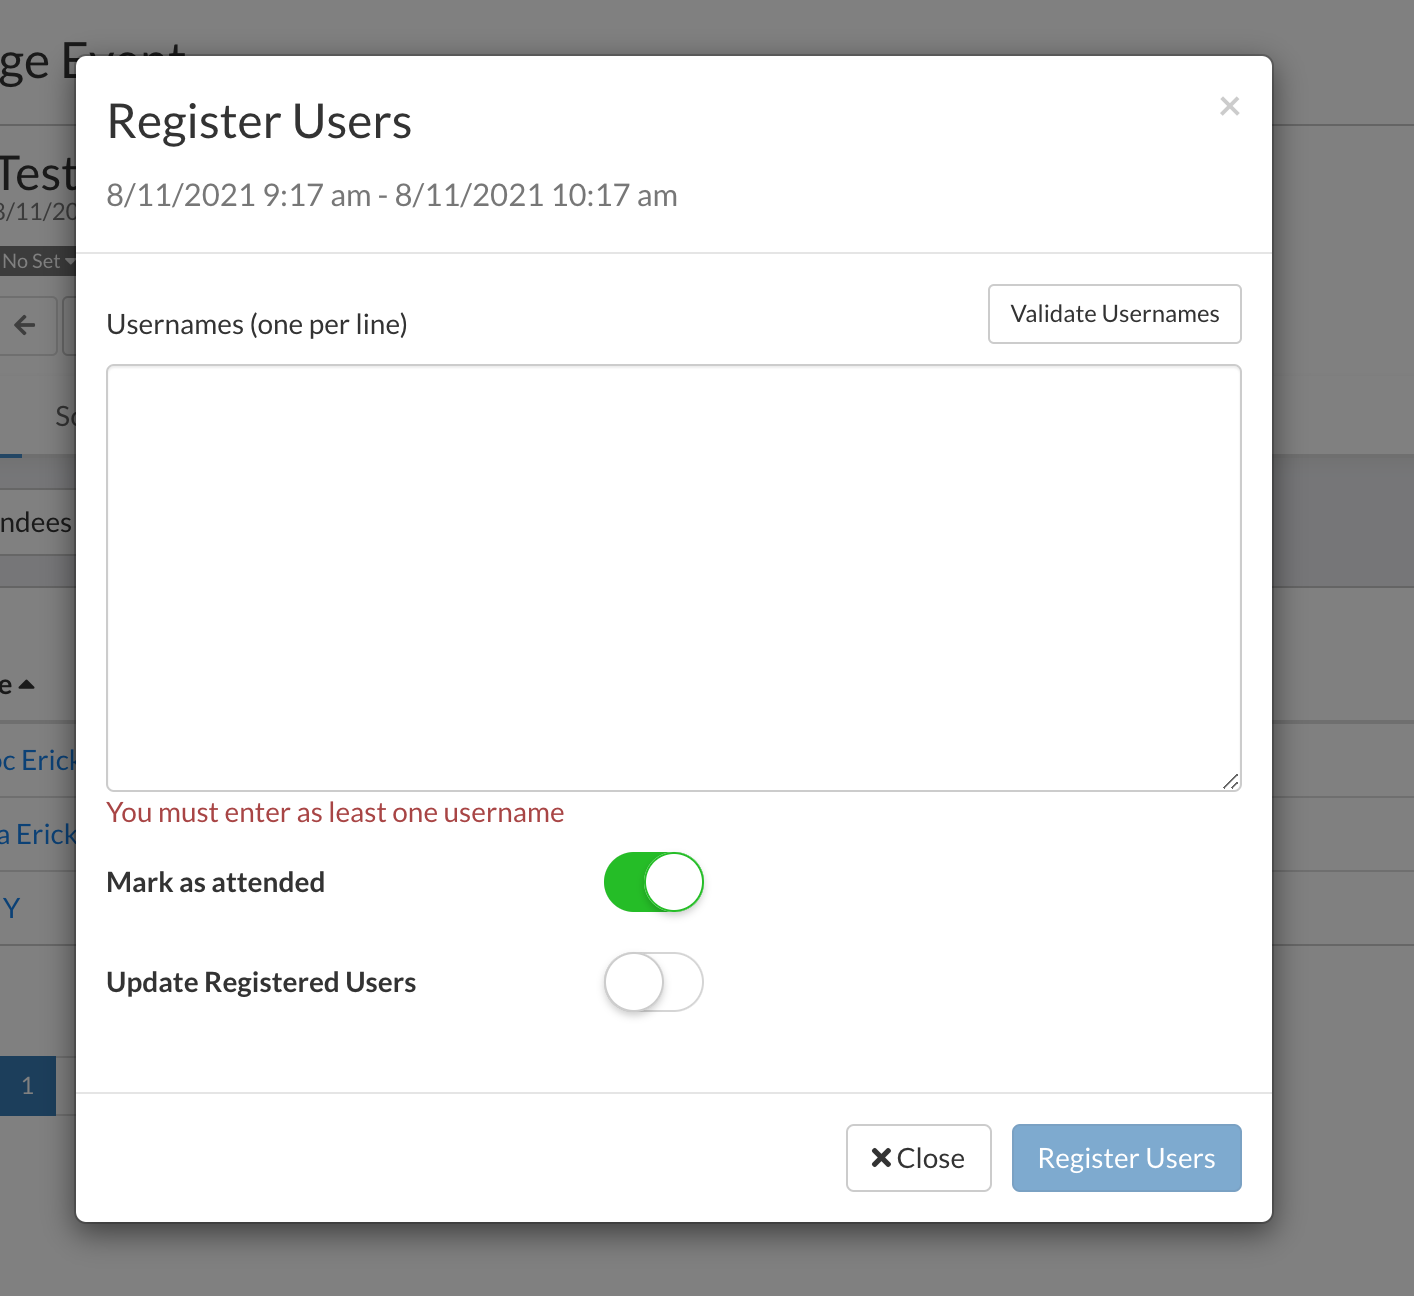
- Select the textbox titled "Usernames"
- Type the username of each user you wish to register. Make sure to list only one username per line
- Select the "Validate Usernames" option in the top right of the window. This will ensure the right usernames have been entered and notify you if any usernames provided cannot be found
- Enable the "Mark as Attended" toggle to automatically mark the users' attendance upon generation
- Enable "Update Registered Users" toggle to include the users provided as "Registered" users
- Select "Register Users" to finalize the process
Now that your guests are registered and invited, you can customize a registration field for their response. See Registration Fields for complete instructions.
Comments
0 comments