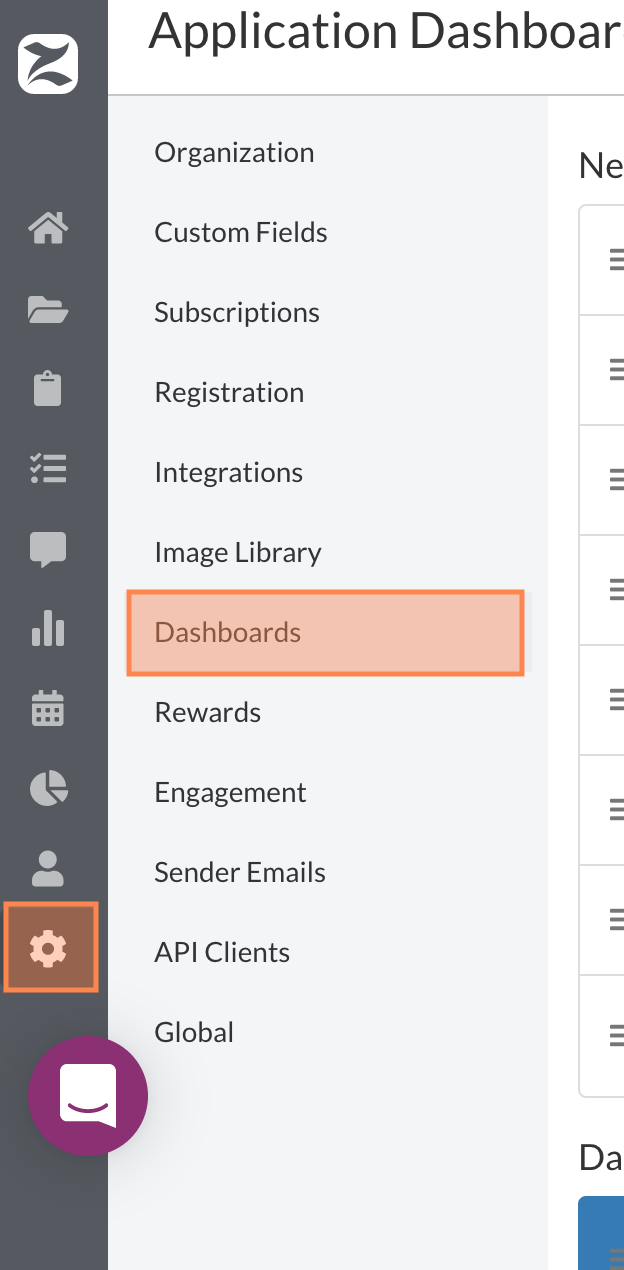
The Dashboard Builder in Zunos, allows administrators to create, customize, and manage User Dashboards.
Before building a dashboard, the Dashboard Feature must be enabled in the Zunos Admin Portal. Contact Zunos support if an administrator does not see the "Dashboards Tab" in Settings.

Migrating an Existing Dashboard
- Navigate to the Settings in admin portal and click on the Dashboards tab
- Choose a dashboard you would like to migrate from the list and click Migrate Dashboard
- You will be relocated to drive and with opened dashboard editor for that dashboard. Here you can customise your dashboard.
All migrated dashboards will be placed in the live content root folder in the Drive module.
Creating a Dashboard
Here are some of the elements you can add, view and change in your dashboard:
- New Page: Each dashboard can consist of a single page, or a number of pages. You can link from one dashboard page to another by using the mixed content widget allowing you to build a unique user experience.
-
Add Widgets:Widgets are interactive elements within the Zunos Dashboard interface. Check out the detailed explanation of the widgets available below:
Mixed Content This widget allows you to add direct links to your content in Zunos, which includes any documents or videos you upload or content pages, web links or quizzes that you create in Zunos. You can also deep link another dashboard.
Engagement Overview This widget allows you to not only add the engagement score, but also set the activities that you want the engagement score to be based on.
Your learners engagement score can be based on: Content views, Courses, Achievement, Quizzes and Quiz Accuracy. You can select any combination of these to calculate the learners score. Please note that the engagement score is configured at a profile level and cannot be customized on a per dashboard basis.
Dynamic Content Dynamic Content allows you to choose a content type for which to display any available items of that content. For example, if you chose quizzes, all of the available quizzes will appear to the user. If you create another quiz, then it will automatically appear. You can set the limit for the amount of items shown otherwise the list could get long!
Image With the Image widget you can upload your logo, tagline, or another brand element. This widget is fairly straightforward, simply upload an image.
Navigation The Navigation widget simply provides links to other areas of the app, just like you're used to in the Zunos. Provide navigation to various sections of the app so your learners can get around quickly, to areas like Content, Forms, Messages and Forums. - Click on Settings to configure your dashboard. Scroll down to find out more about dashboard settings;
Name: Give a name to your dashboard
Description: Add some details to describe your dashboard.
Notification Message: A push notification will be triggered when a new dashboard is made available to the users.
Groups: Assign your dashboards specific groups or smart groups to establish user visibility. If left blank, all user can see the dashboard.
Publish Date: Set a start date for when the dashboard will be made available to the users.
Expiry Date: If set, the dashboard will be made unavailable to access from that date and time forward.
Default Dashboard: This is a mandatory field that is required for at least one dashboard. If active, this dashboard will act as a root dashboard.
Active: Finally, you must set your dashboard as active to make it visible. - You can clone your existing dashboard page if you want to build another one from scratch. To clone, select the dashboard page and click on the settings panel that appears on the right-hand side. Here you can clone or delete the page.
Comments
0 comments