Achievements are an RLO (Rich Learning Object) designed to recognize and reward users for reaching milestones in the program. This learning pathway motivates users to complete a number of tasks.
Structuring Achievements
Create a New Achievement Group
- Go to Drive and create a new Achievement Group.
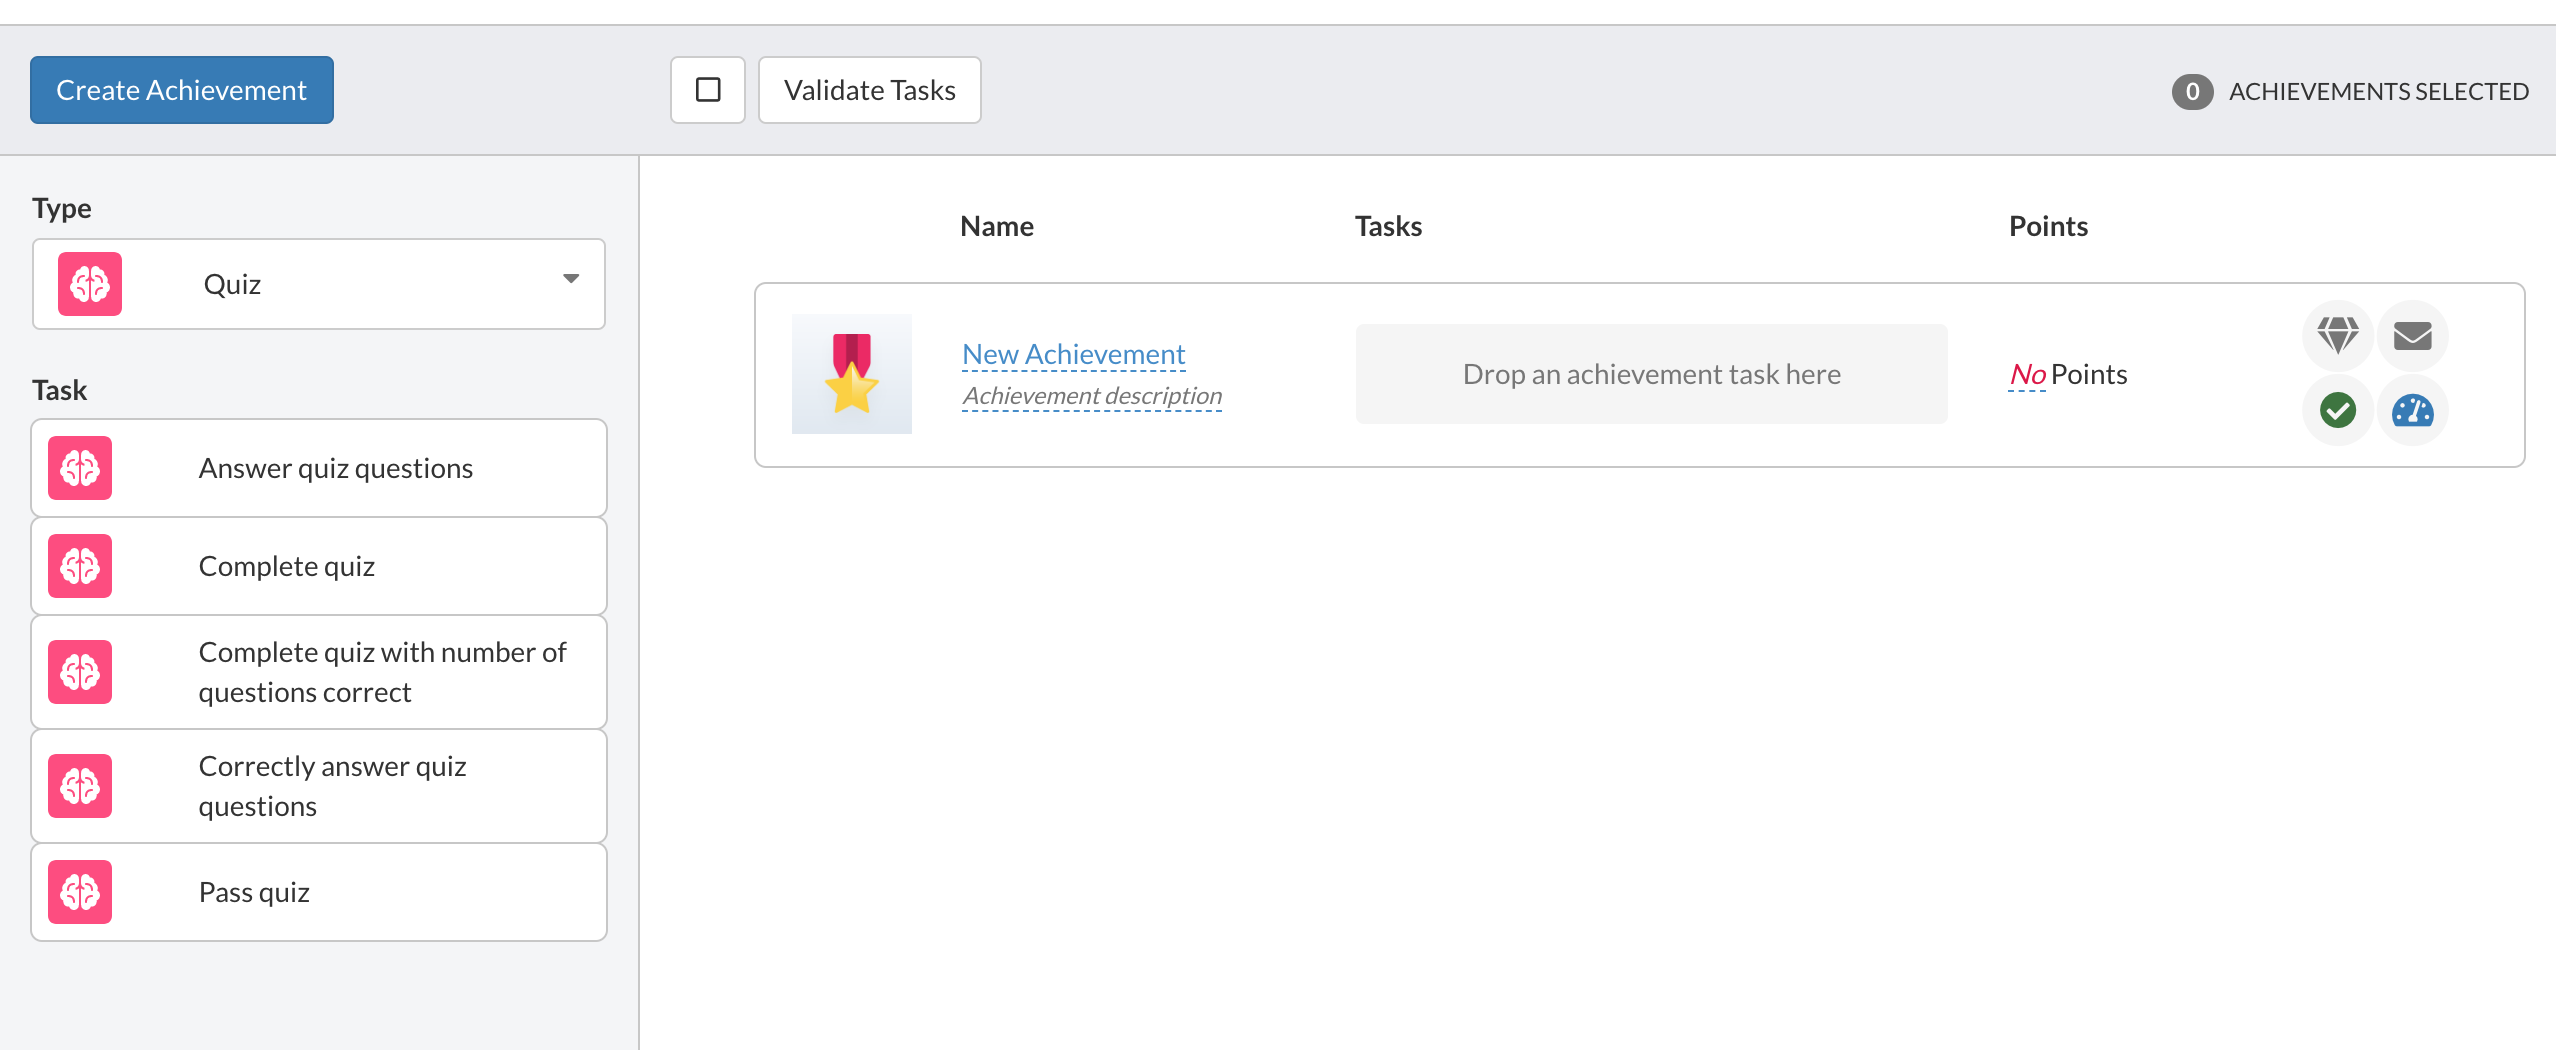
- Tap “Create Achievement.”
- In each one of these Achievements, you have the ability to add individual tasks.
- *Note: Your Achievement Group is the overall package which contains Achievements, and those Achievements contain your individual tasks.
- The hierarchy goes Achievement Group >Achievements >Tasks.
Choose and Add Tasks
- Choose your Achievement Type.
- An Achievement Type can be any activity a user can interact with inside the platform such as completing a quiz or viewing content.
- Drag and drop the task into the Achievement Group. Administrators can:
- Add multiple tasks.
- Change their order.
- Update the what Achievement information is shareable within the Achievement Group.

Achievement Group Settings
Click the "Settings Option" in the upper right corner of the window for access to the Achievement Group's Settings.

General

Name: Edit the course name here.
Description: Amend the course description here.
Notification Message: Set course notification message. This will be used as the default notification message when alerting users to the new course via the Notify option in Drive.
Publish and Expiry Dates: Set the course Publish and Expiry dates if required.
Groups: Allocate your Groups and Teams. Leave this field empty and this notification and Achievement will be sent to all users.
Active: Set achievement to Active or Inactive.
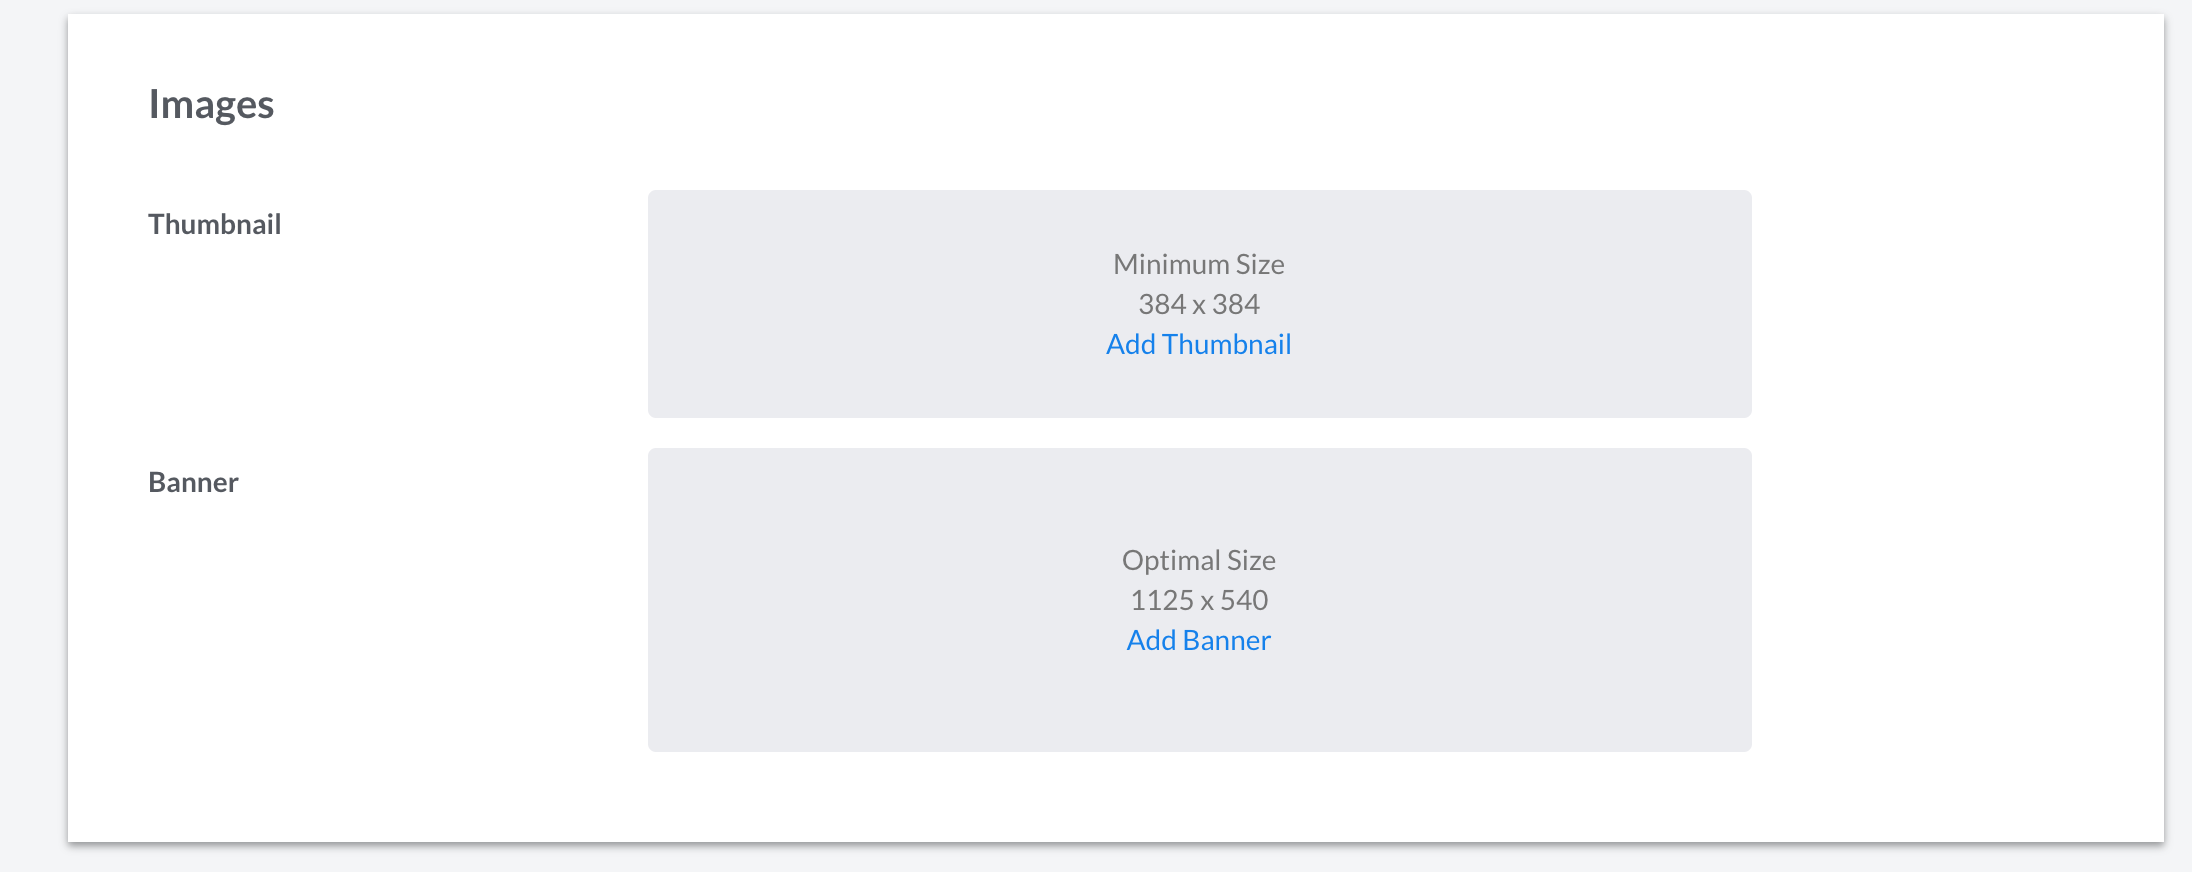
Images 
Thumbnail: Create a Thumbnail, click Add Thumbnail and upload a new logo or use an existing image.
Banner: Create a custom banner image, click Add Banner and upload a new logo or use an existing image.
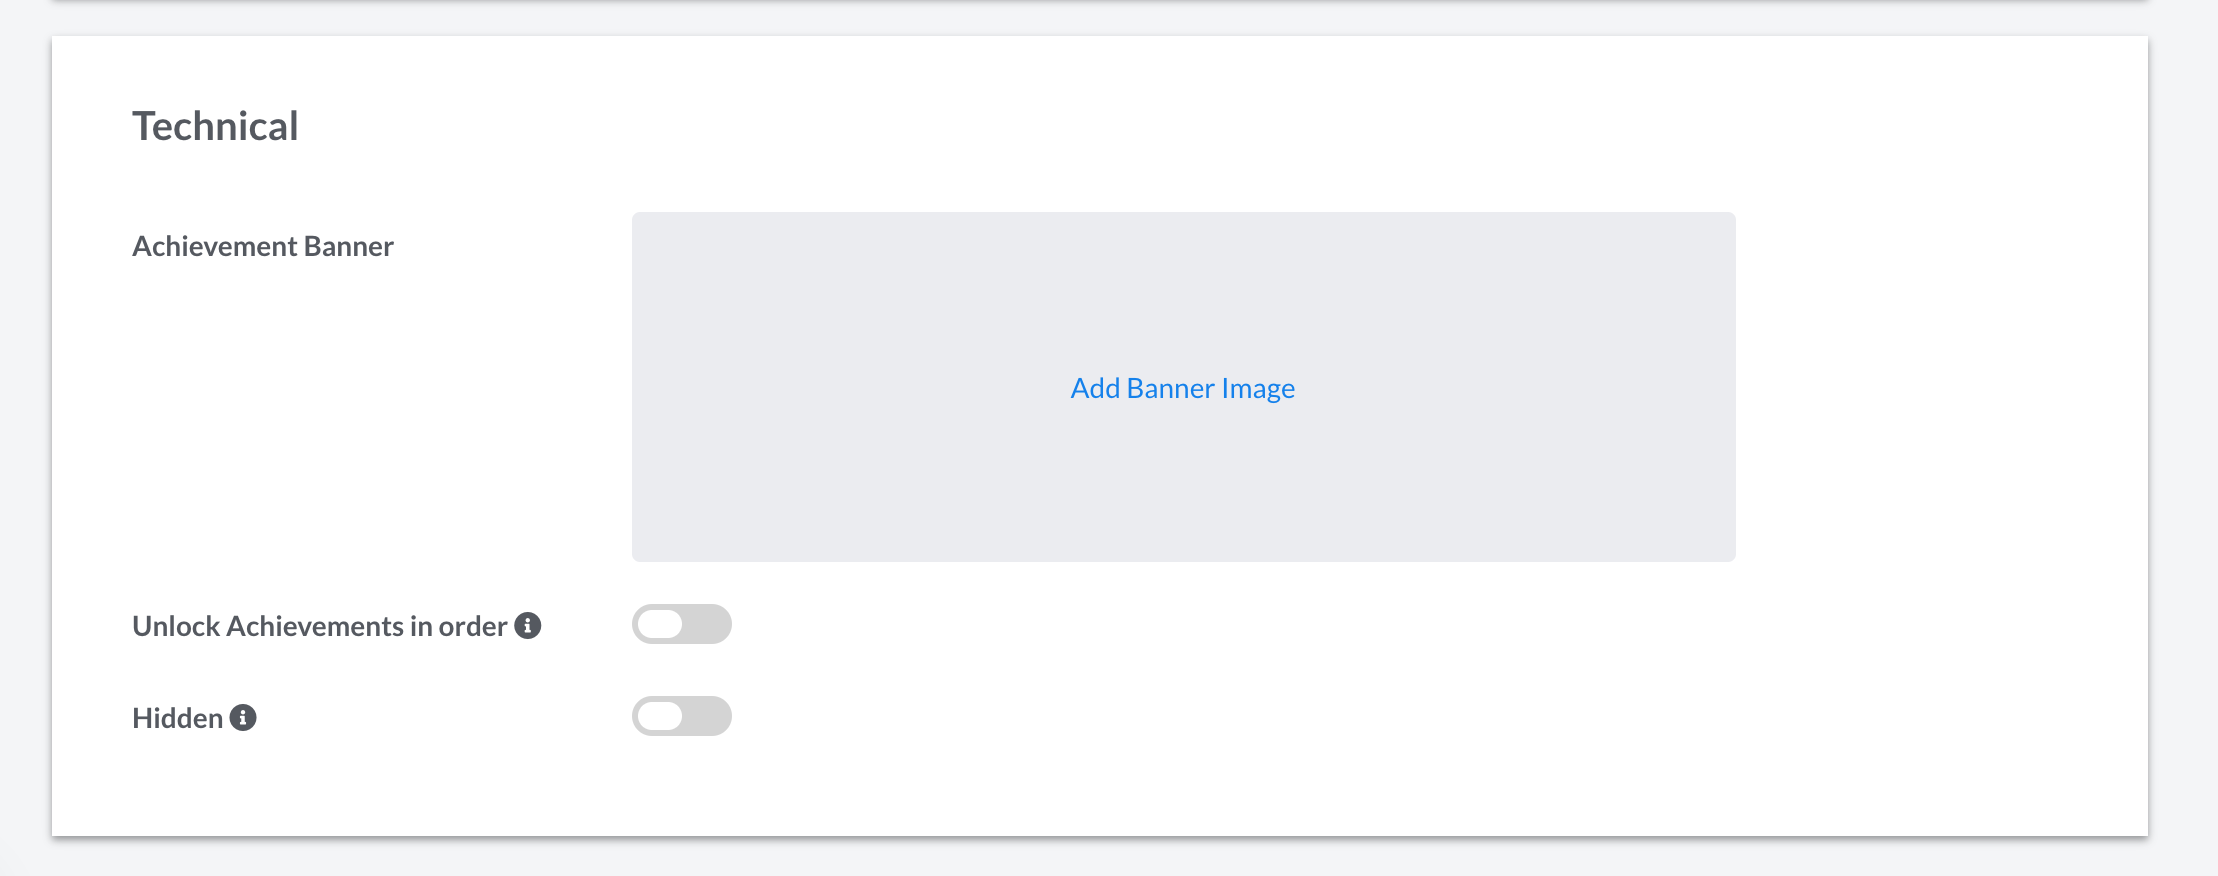
Technical

Achievement Banner: Click on "Add Banner Image" and administrators can upload an original image or choose from the default set.
Unlock Achievements in Order: Achievements will be locked until the previous achievement has been achieved, depending on the order of achievements.
Hidden: Hidden Achievements will behave like visible achievements, except they won't appear to the user in their dashboard or Achievements Screen in the platform. Hidden Achievements are great for surprising users with badges they may not expect.
Achievement Settings

- Thumbnail/ Achievement Badge: Click on the image to upload an original badge image or choose from the default set.
- Points: Allocate the number of points each achievement wields upon completion.
- Virtual Rewards: Represented by a diamond, the virtual reward maybe a form, quiz, video-content, or reward available only upon the tasks completion. Simply click the diamond and choose from the drop-down menu to add the reward.
- Completion Email: Add an email message to an Achievement to congratulate the user for completing it by selecting the mail icon. (To take advantage of a completion email, a template will need to be created first.)
- Active/ Inactive: And finally ensure the Achievement is active by ensuring there is a green tick. If it's a cross (as shown in the image below) click the cross to make it active.
- Update Rules: Any text that is underlined and is blue or pink can be changed. Simple click on the text to update the details or rules of the tasks.
Comments
0 comments