Administrators have the ability to collect a myriad of information from their users by creating a customizable form.
Create a Form:
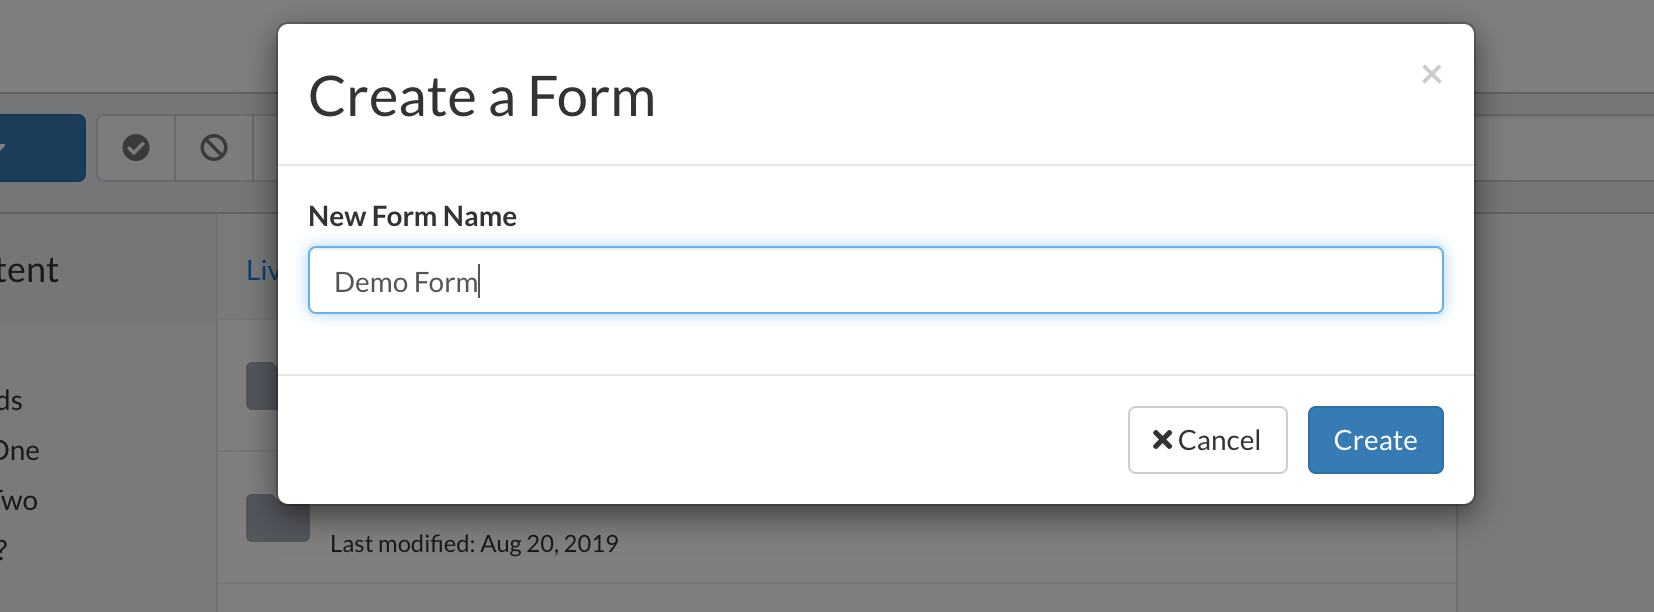
- Navigate from the Drive>Add Content> Form. The following window manifests:

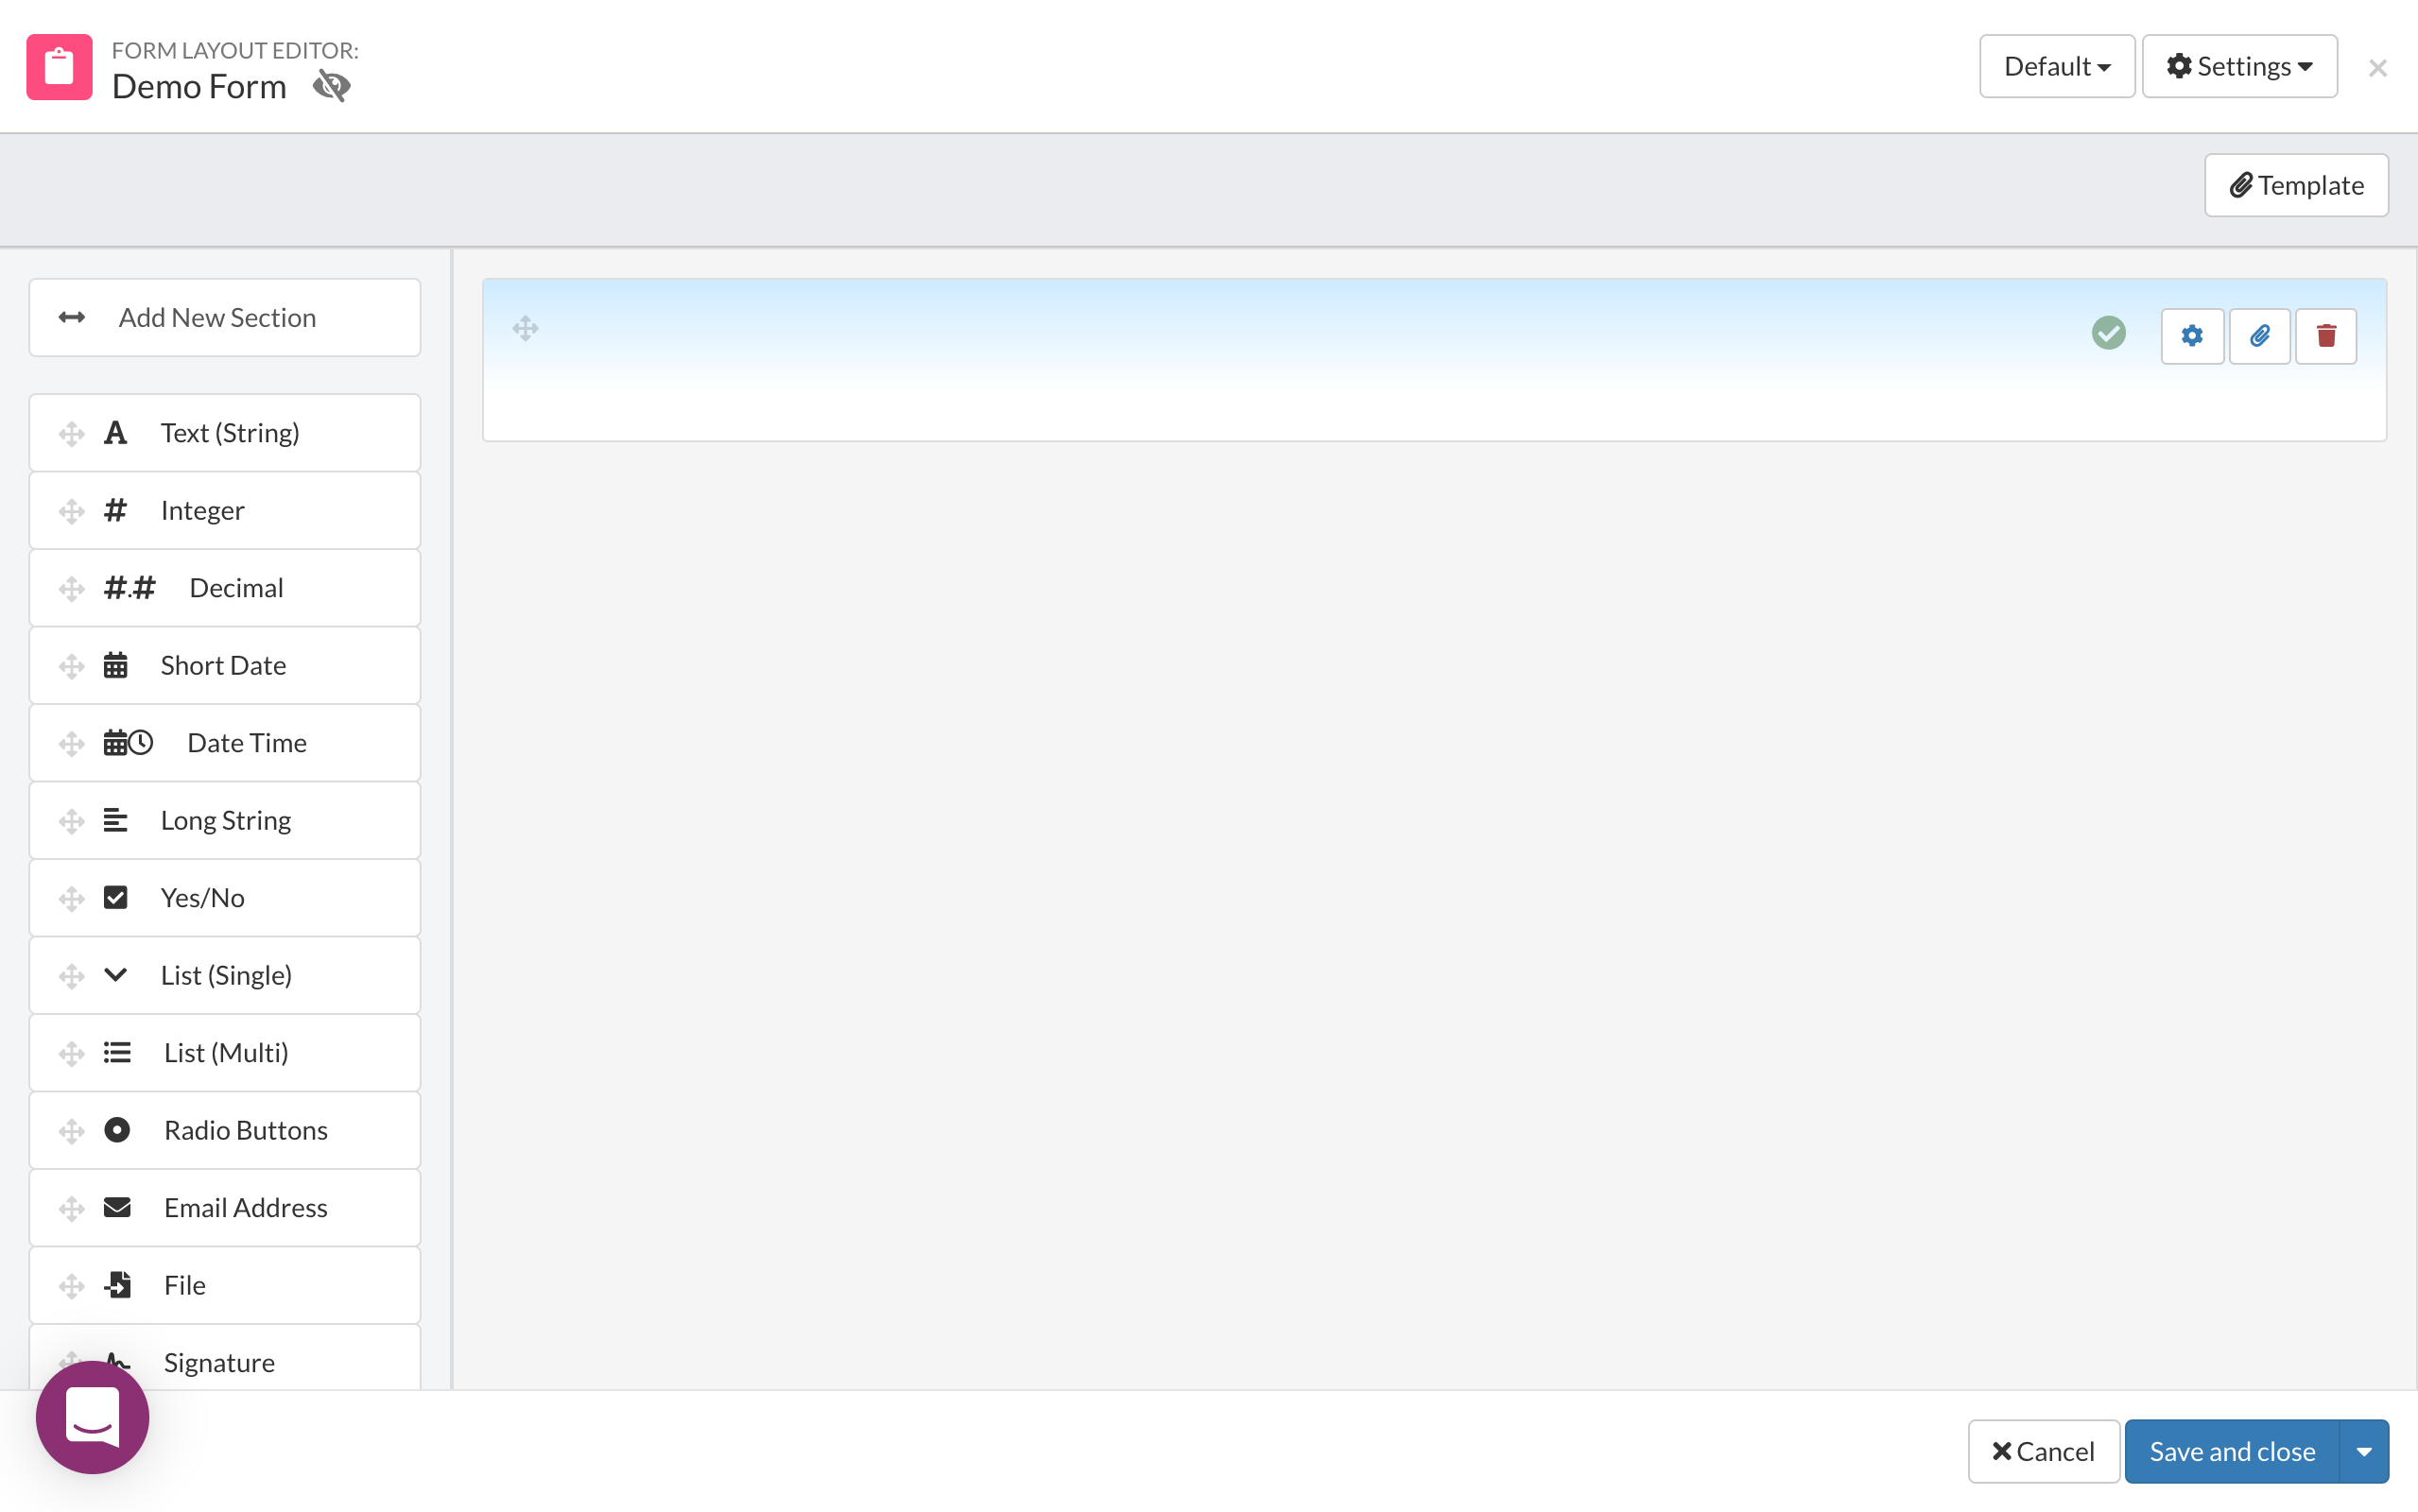
- Type in the desired form title and select the "Create" option to progress. This will trigger the creation of a new form similar to the following:

Forms Sections
The left column offers a variety of different functions a form may contain. Simply select the desired option, and the section will appear in the center panel. Once displayed in the center panel, administrators can customize the respective sections.
Settings
In the upper right corner of the screen, administrators can select the "Settings" option for further customization of the form.

Setting (General) |
Function |
| Name | Enter/Edit the name of the form. |
| Description | Add a short description of the forms purpose. |
| Notification Messages | Customize the message the users gets when administrators notify users of this form. |
| Publish Date | Select a date on which the form will be published. |
| Expiry Date | Select a date on which the form will expire. |
| Tags | Add tags to categorize and easily manage your content items in Drive. |
| Groups | Only allow the Groups selected to have access to this form. |
| Active | Enable toggle to make the form active. |
Settings (Technical) |
Function |
| Email To | Insert the desired recipient's email address, if adding multiple, separate the email addresses by a comma. |
| Email Subject | Customize the email's subject line. |
| Success Messages | Customize the message received when a user successfully submits a form. |
| Users To Notify On Submission | The users listed here will receive notification when this form has been submitted. |
| Send Push Notification | Enable toggle to send notification to user with updates on this form. |
| Attach PDF to Email | Enable toggle to attach the form as a PDF. |
| Max Submissions Per User | Define how many times an individual may submit this form. |
Comments
0 comments