Administrators have the opportunity to customize their user's experience in the way they navigate through the platform.
Customize User Navigation
Administrators will begin by Administrator Portal. Navigate from Settings > Navigation accessing a page similar to the following:

Navigation Overview
Here, administrators access the customizable settings for a particular navigational experience.
- Either disable/enable the "Active" toggle to determine whether or not the experience is live for users.
- Assign a "Group(s)" by clicking the drop down menu and selecting the intended groups for this navigation.
*Note: If no group(s) are designated, the experience applies to all users.
3. All existing customizations under the "Nav Items" section will apply to the designated user's navigational experience.
Add Nav Items
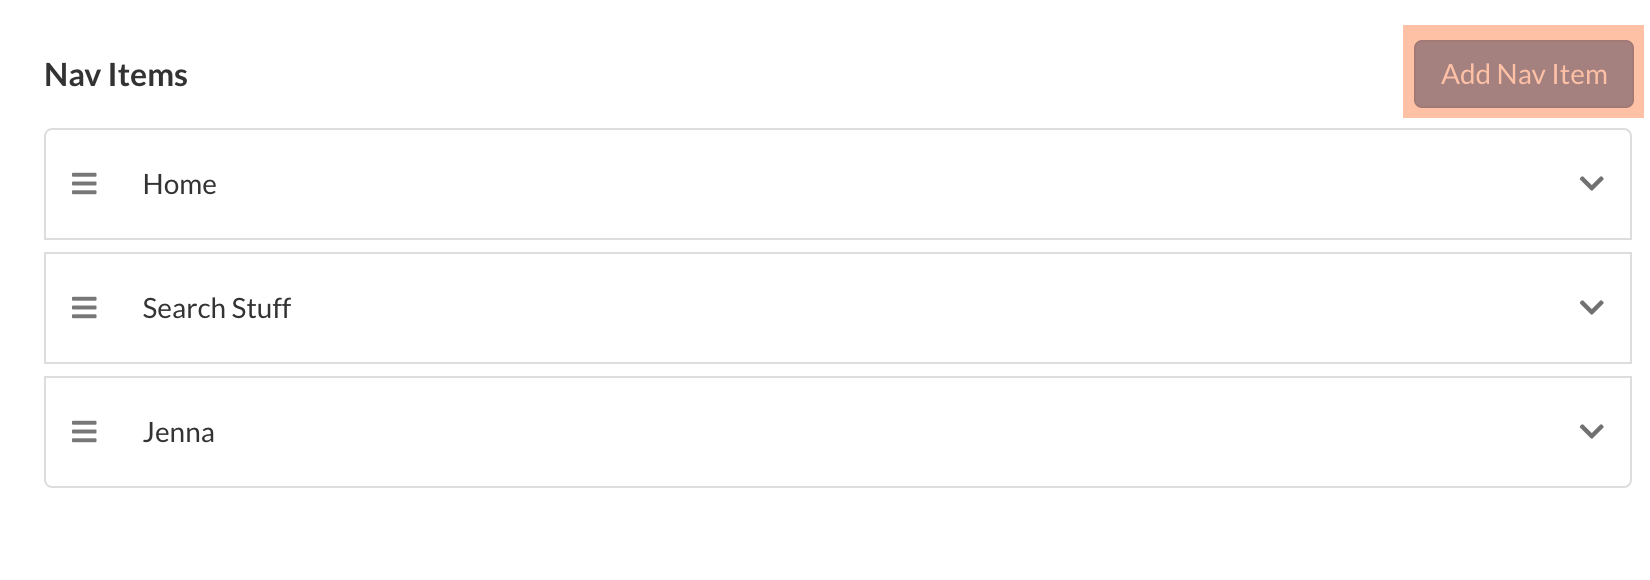
Here, administrators add customized Navigational Buttons to their users' Nav Bar within the Zunos End User Platform. Add a new button by:
- Select the "Add Nav Item" button in the upper left corner of the section.

- This prompts the pop-up of the customizable fields:
- Name
- Source
- Nav Icon
- Designate the name for this button by selecting the textbox and typing the title

- Designate the source for this button. When users click this button in the Nav Bar, they will be directed to this specified source within the platform. Select the menu, and choose a source.

- Select an image that will appear on the Nav Bar.
*Note: Just the image, not the title attached to the image will appear
- Select the "Delete Nav Item" to remove the selected item.
- Once satisfied with the current Nav Item, select the "Saved" button at the top right of the Navigation Section

- The new Nav Item will be added to the designated group's Navigation Bar.
Comments
0 comments